Getting Started
The goal of this chapter is simple: have Claude Code installed and running on your computer before you turn the page. It should take you less than ten minutes.
Creating an account and picking a plan
Go to claude.ai and sign up. You can use your email or log in with Google. Takes about a minute.
Once you're in, you need a paid plan to use Claude Code. The Pro plan at $20/month is the right starting point. It gives you plenty of usage for learning and day-to-day tasks.
$20 a month. Less than Netflix. Commit to one month, actually use it, and see what happens. If it clicks, keep going. If it doesn't, cancel. The worst outcome is you are $20 down and you know whether this is for you.
Start with one month, not a year. If you sign up and barely open it, cancel and come back when you have a real task. The people who get value from Claude Code use it on actual work, not just to try it out. One genuine project will tell you more than a week of experimenting.
Installing Claude Code on your computer
Claude Code runs in your terminal. If that sounds unfamiliar, don't worry. A terminal is just a text window where you type instructions directly to your computer instead of clicking around. On a Mac it is called Terminal (you can find it in Applications → Utilities). On Windows it is called PowerShell.
Before you install Claude Code, you need something called Node.js installed on your machine. Think of it as the engine Claude Code runs on.
Step 1: Check if Node.js is already installed
Open your terminal and type exactly this, then press Enter:
If it prints something like v20.11.0, you already have it. Jump straight to Step 3.
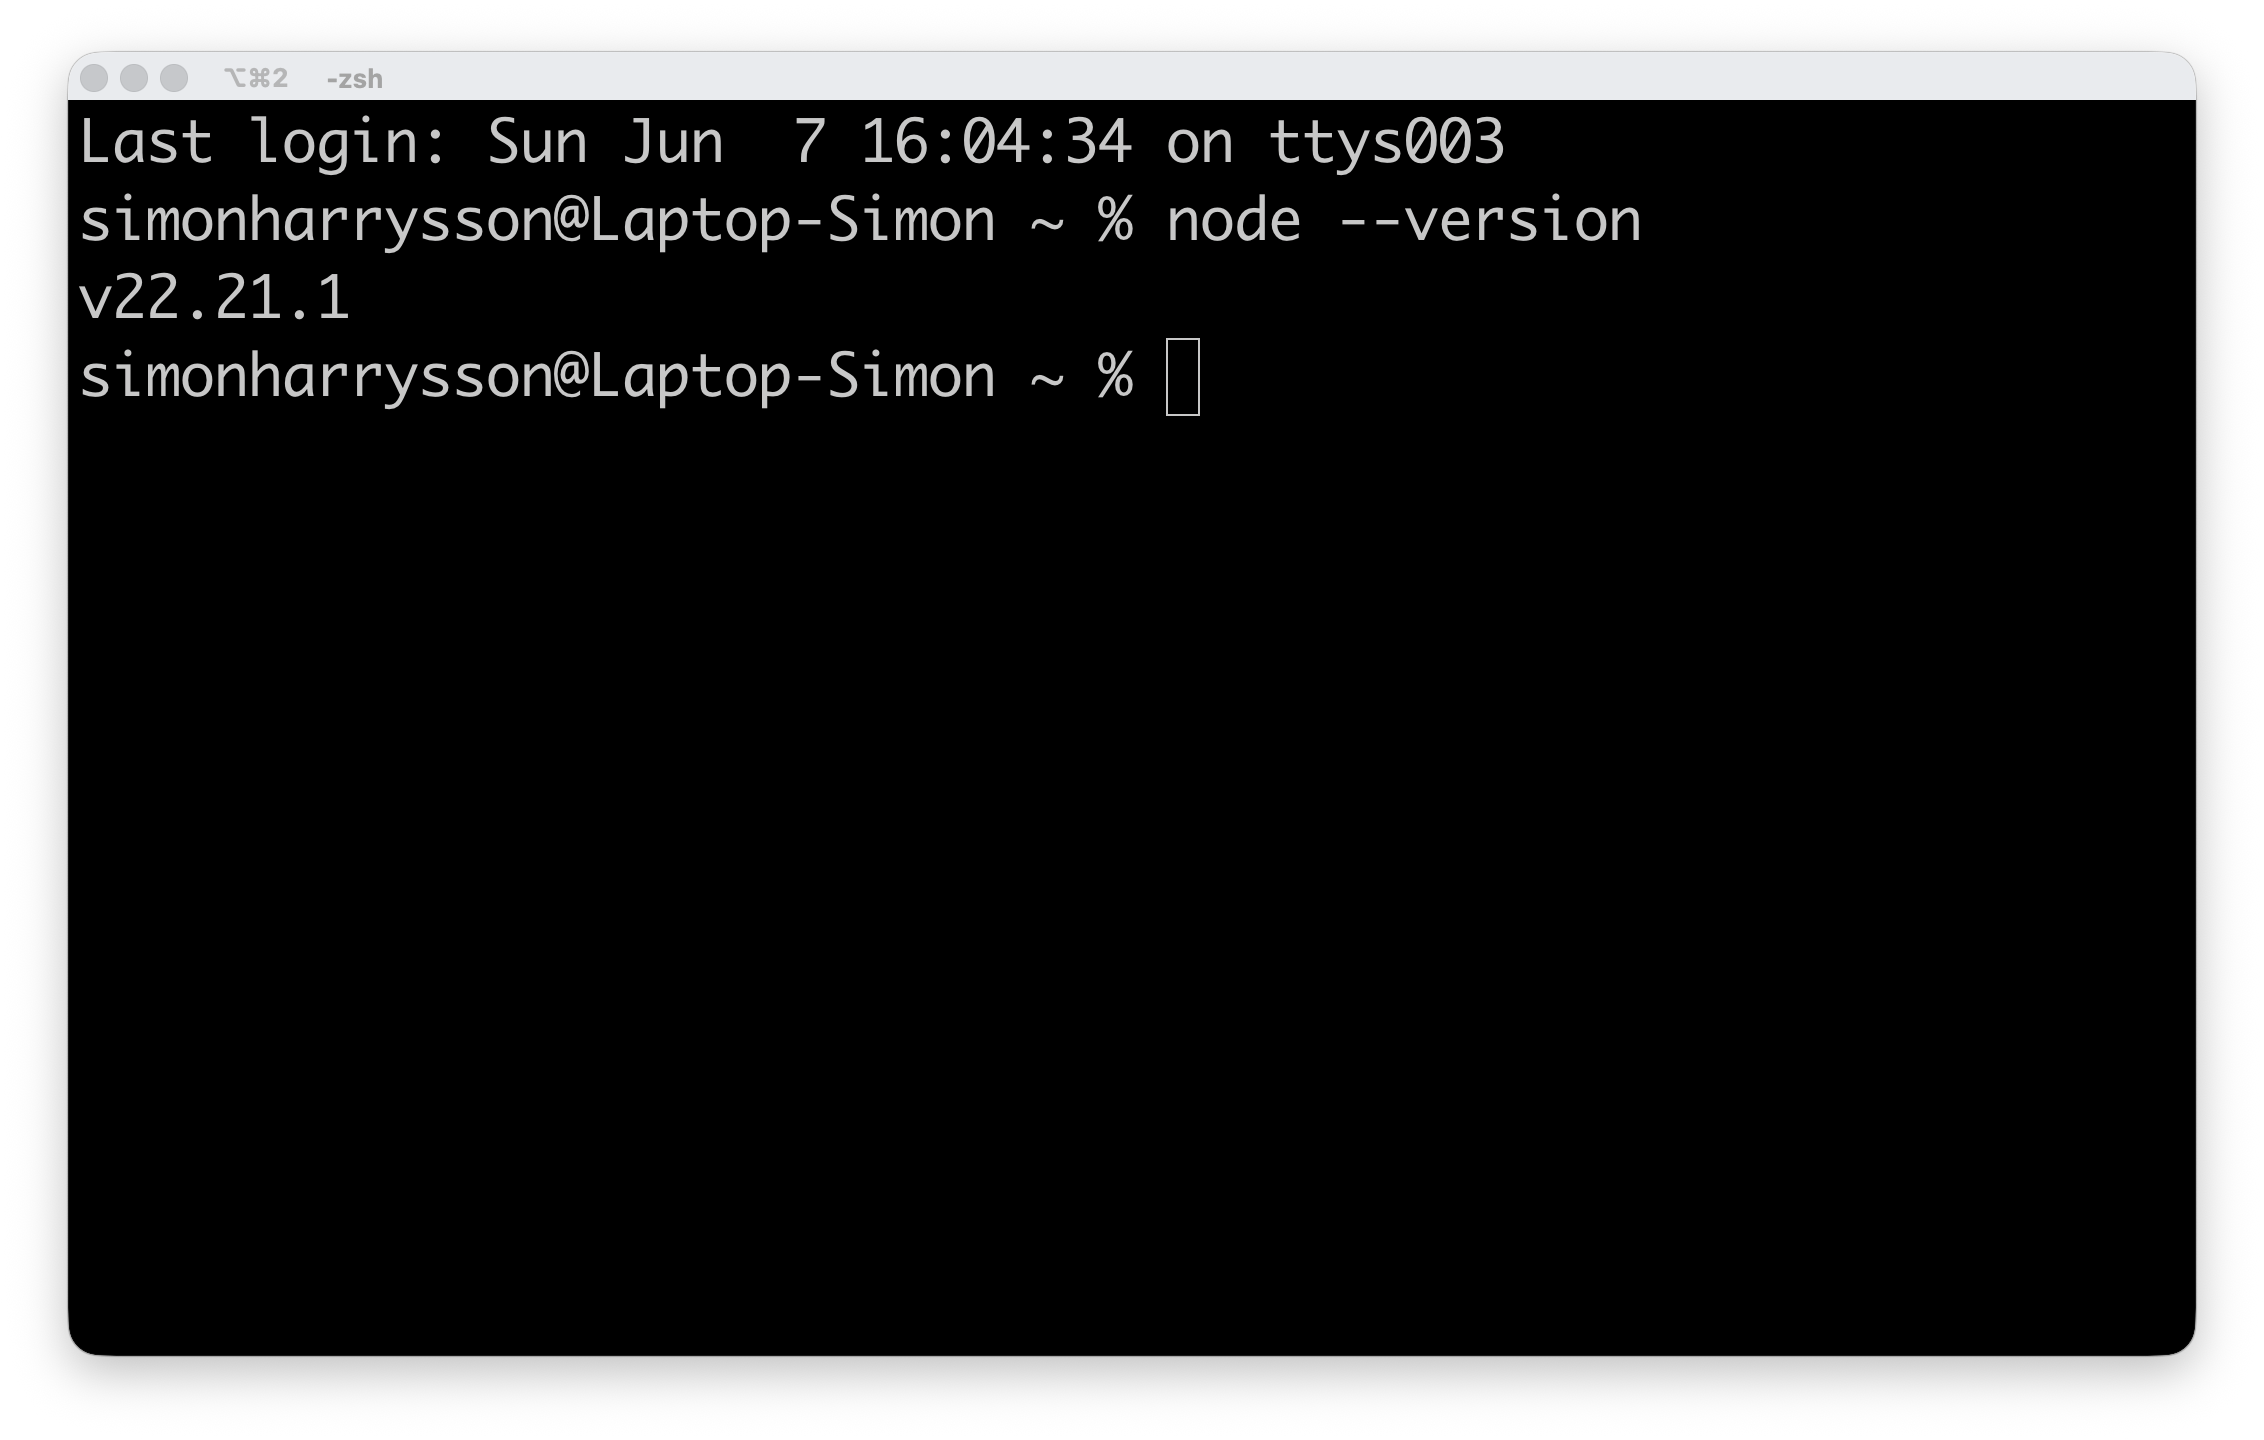
Step 2: Install Node.js (only if Step 1 didn't print a version)
- Open a browser and go to
nodejs.org/en/download. The page looks like this:
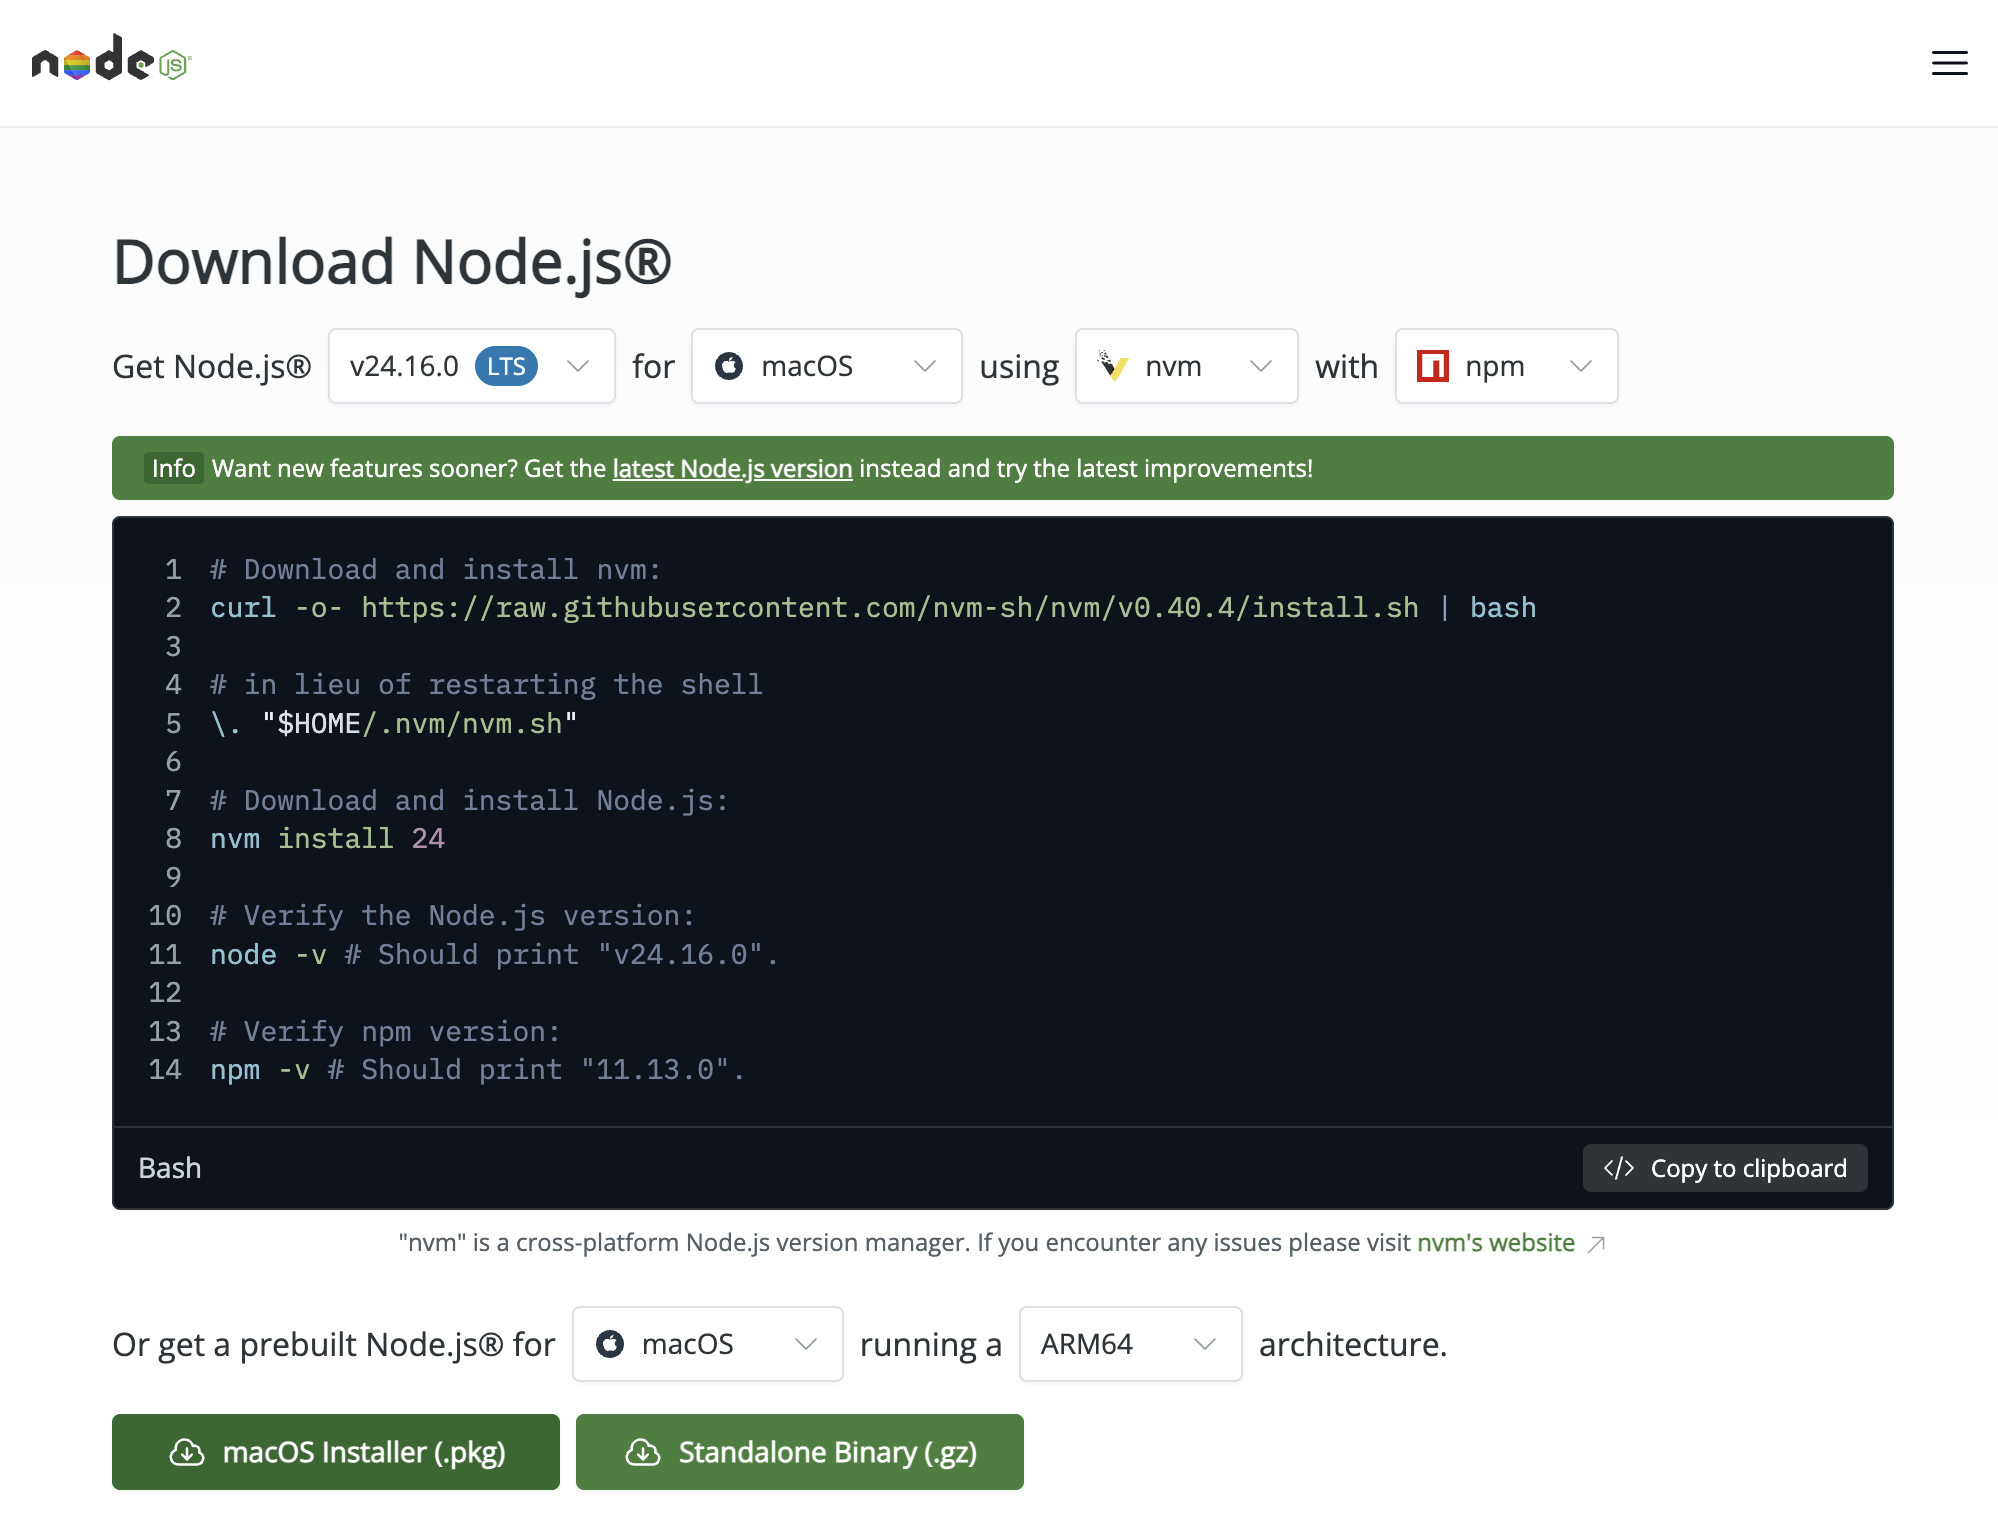
You will see a block of terminal commands at the top — ignore that, it is an advanced method. Scroll down slightly and click the green macOS Installer (.pkg) button. The file downloads automatically.
- Open the downloaded file. An installer window appears.
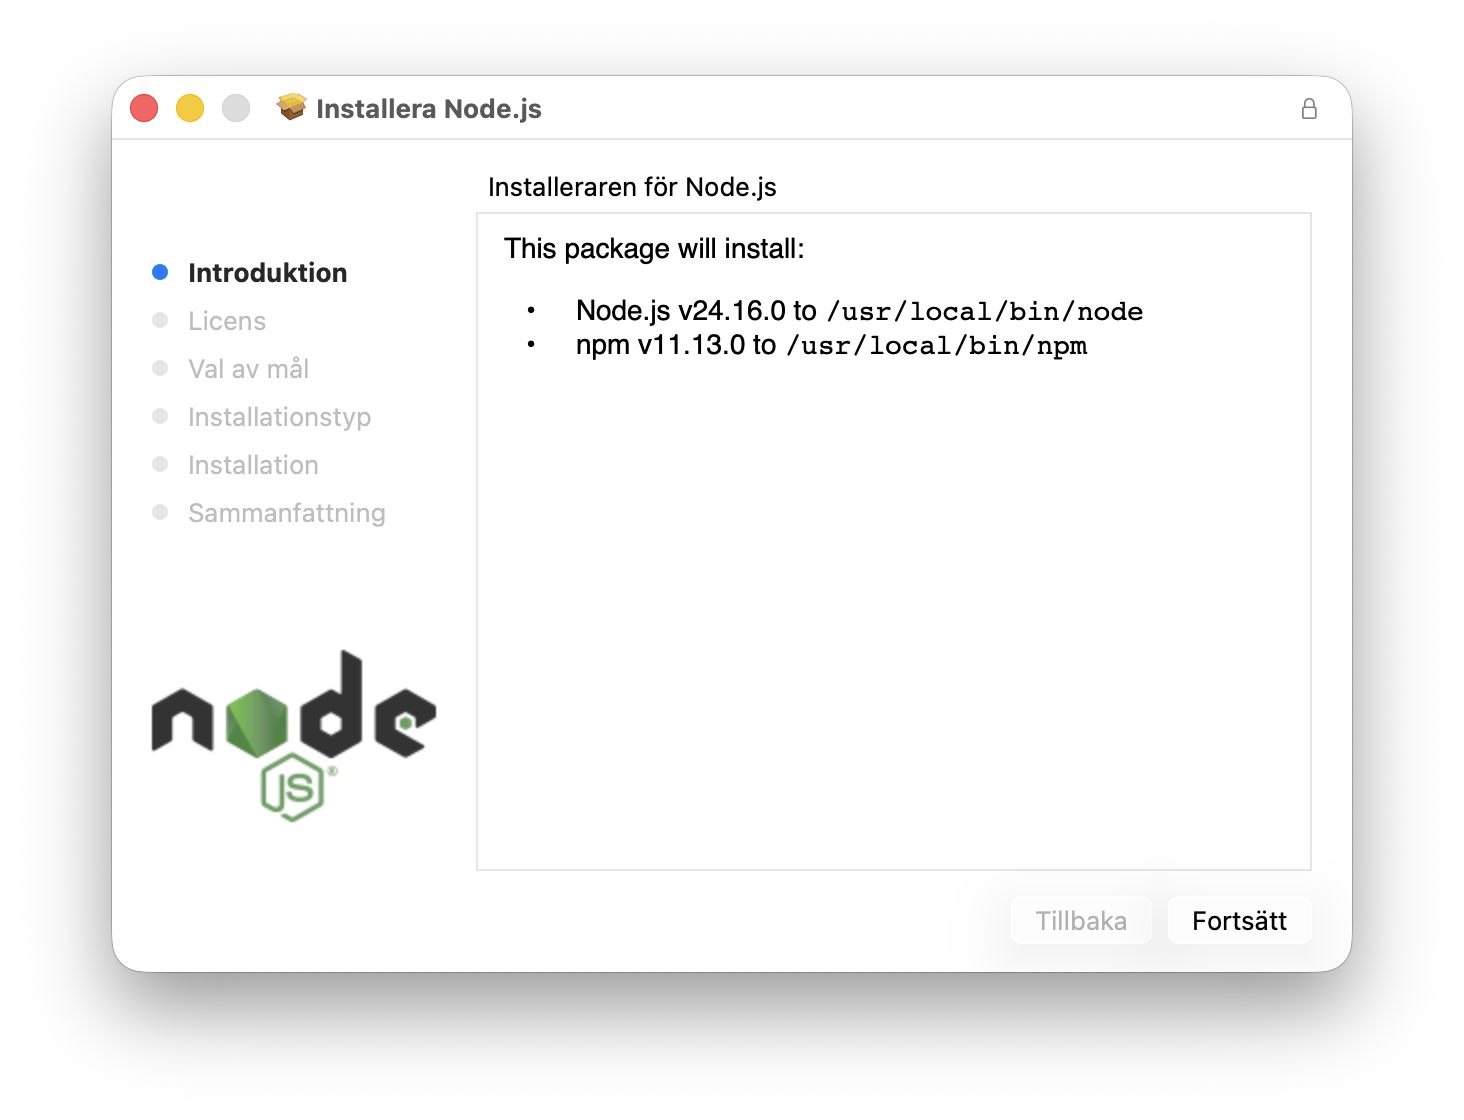
- Click Continue. You will reach a license agreement screen — click Continue again. A popup appears asking you to agree.
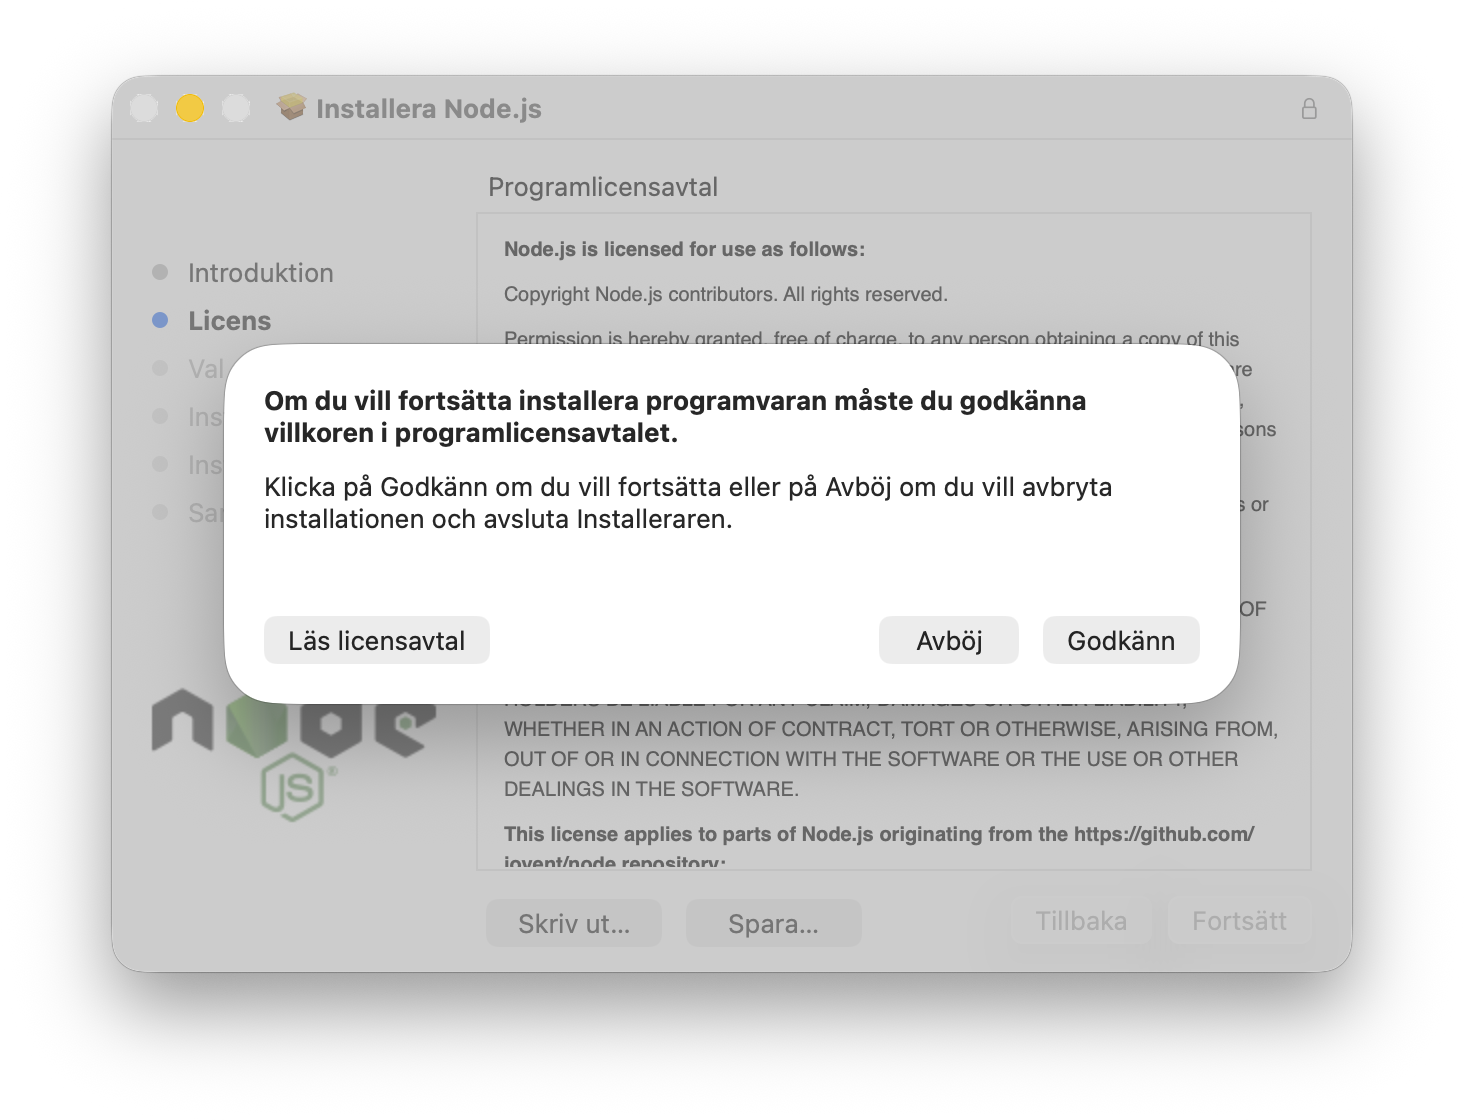
Click Agree (or the equivalent in your language) to proceed.
- You will see the installation type screen. Leave everything as-is and click Install. Your Mac may ask for your password — that is normal, it just needs permission to install software.
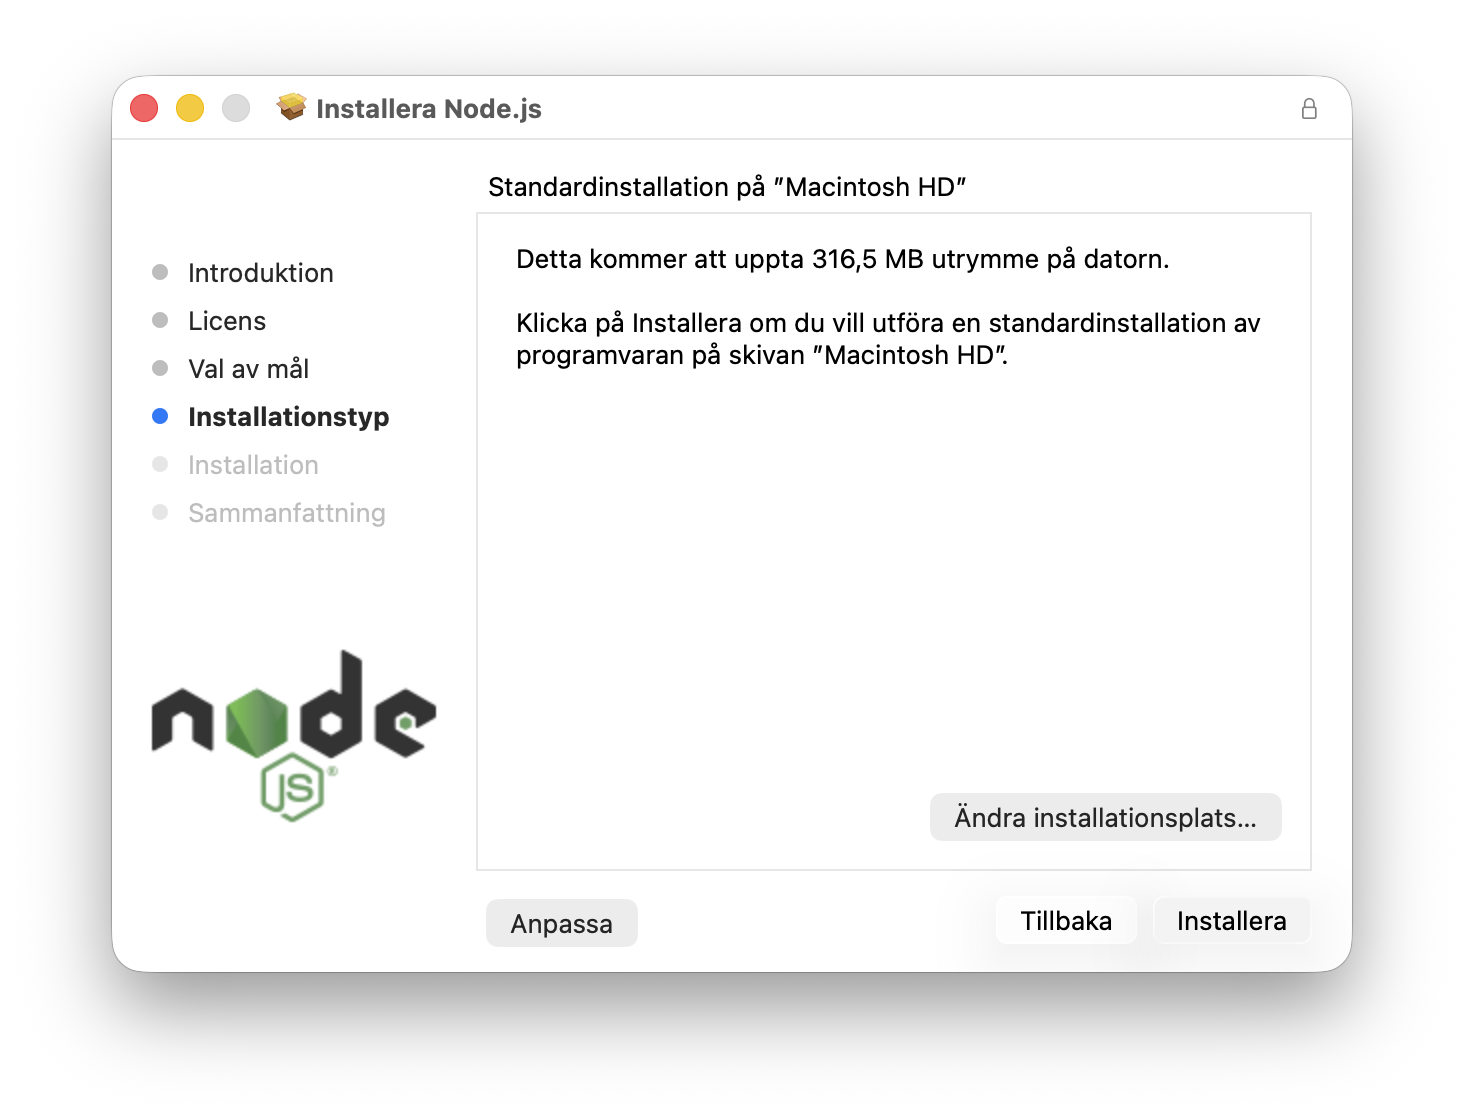
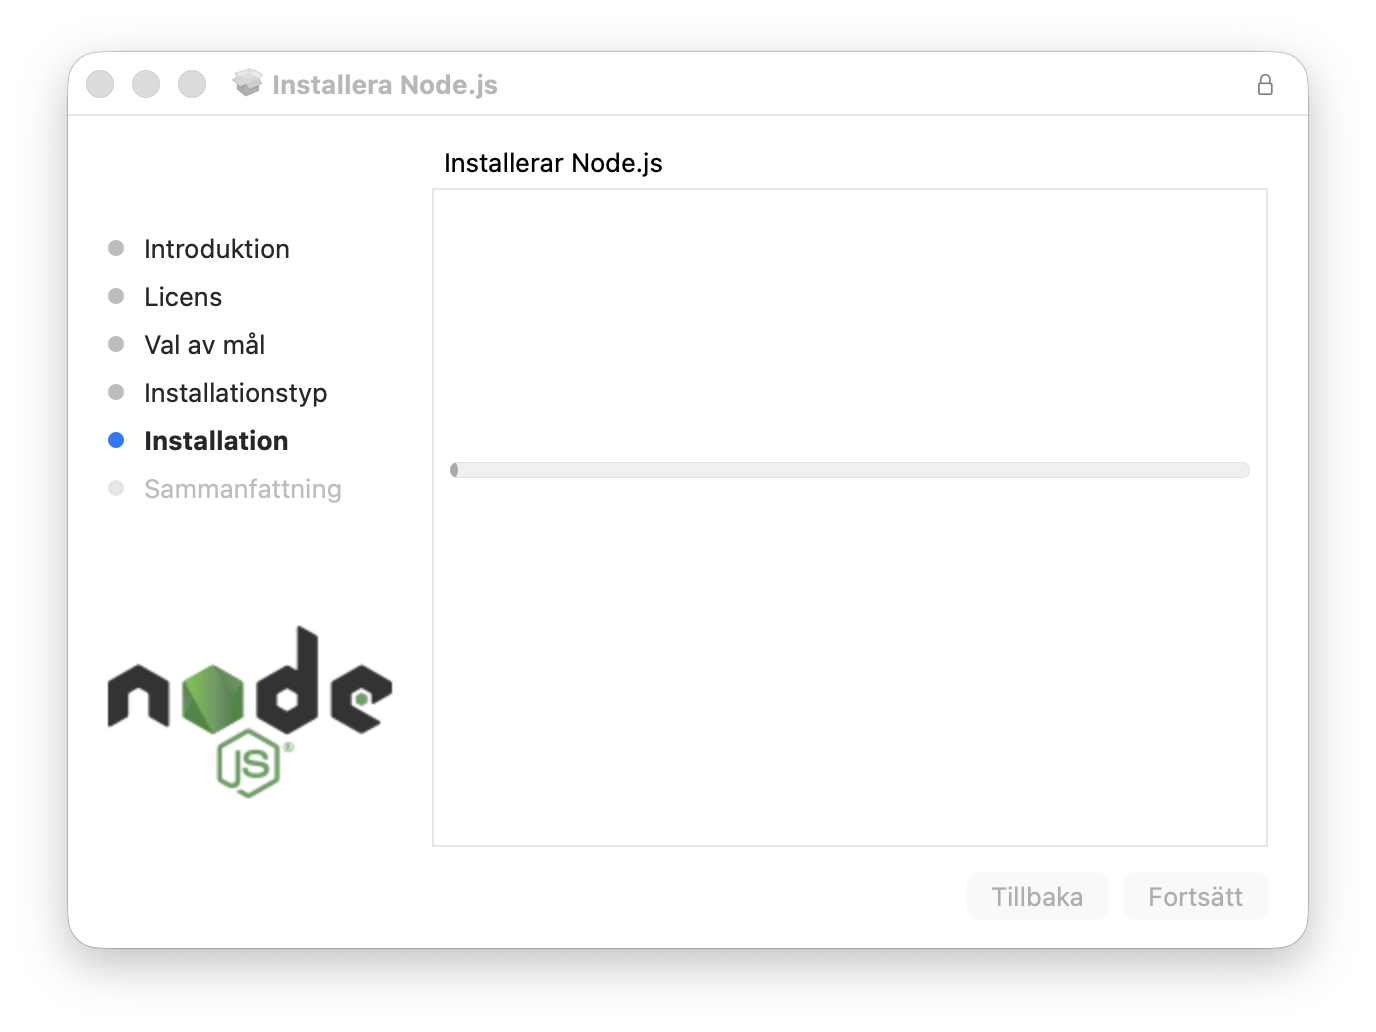
- The installation runs for about a minute.
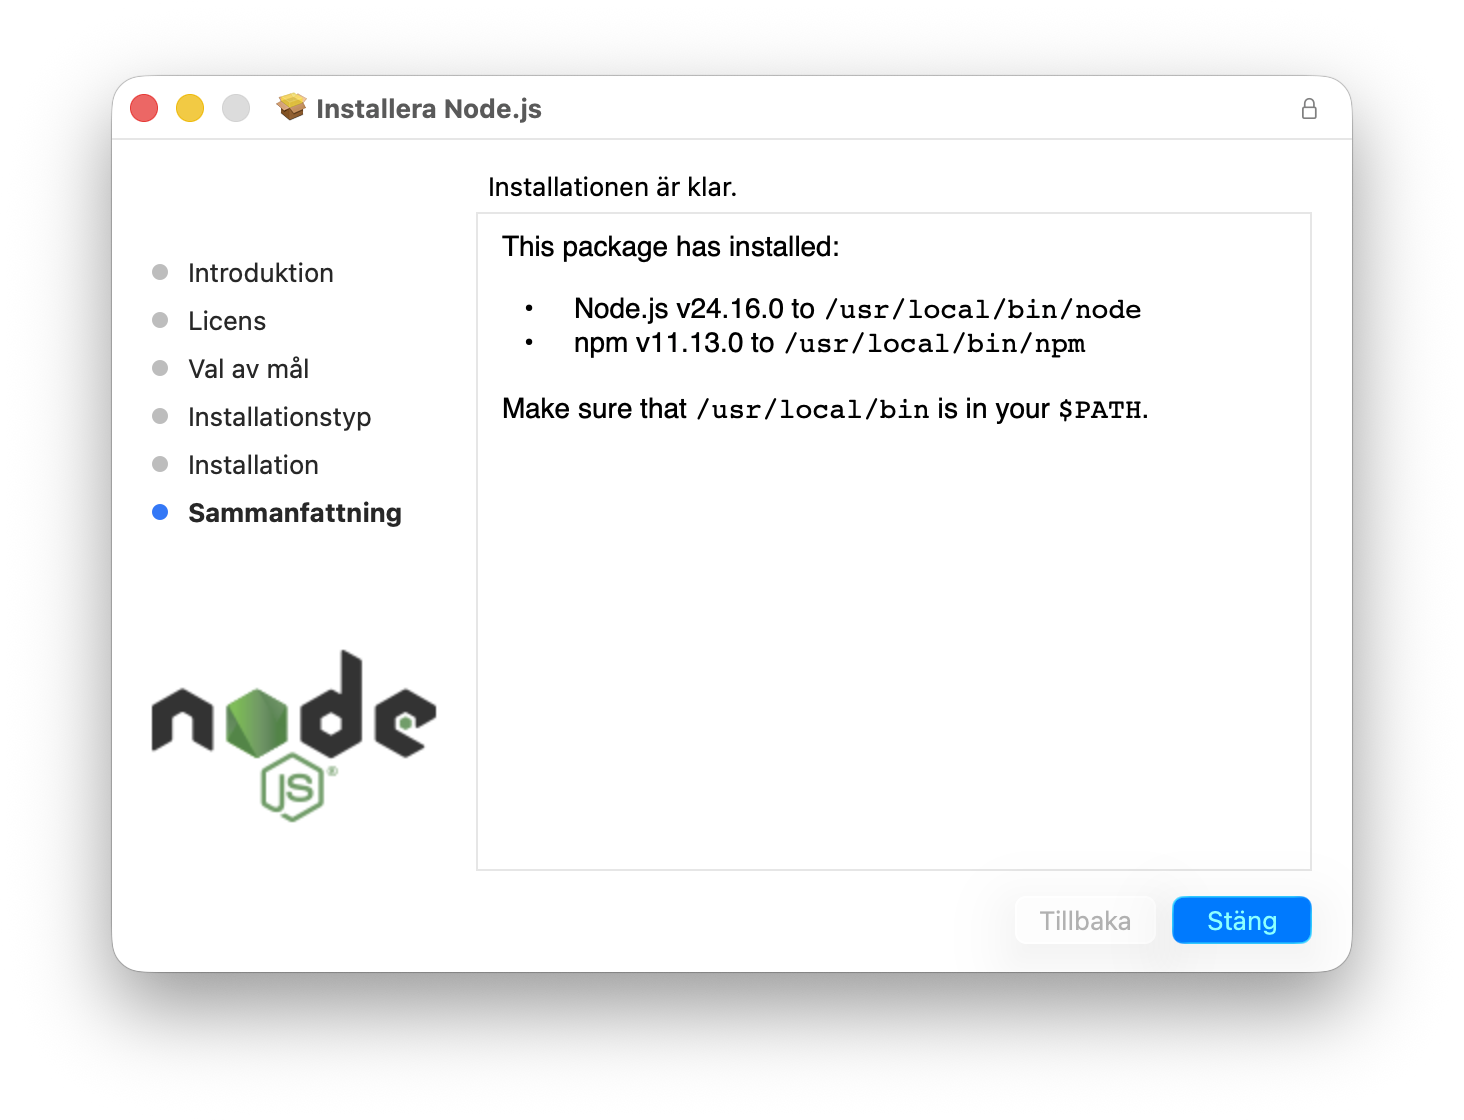
- When you see the summary screen saying the installation was successful, click Close.
- Back in your terminal, type
node --versionagain. You should now see a version number.
Step 3: Install Claude Code
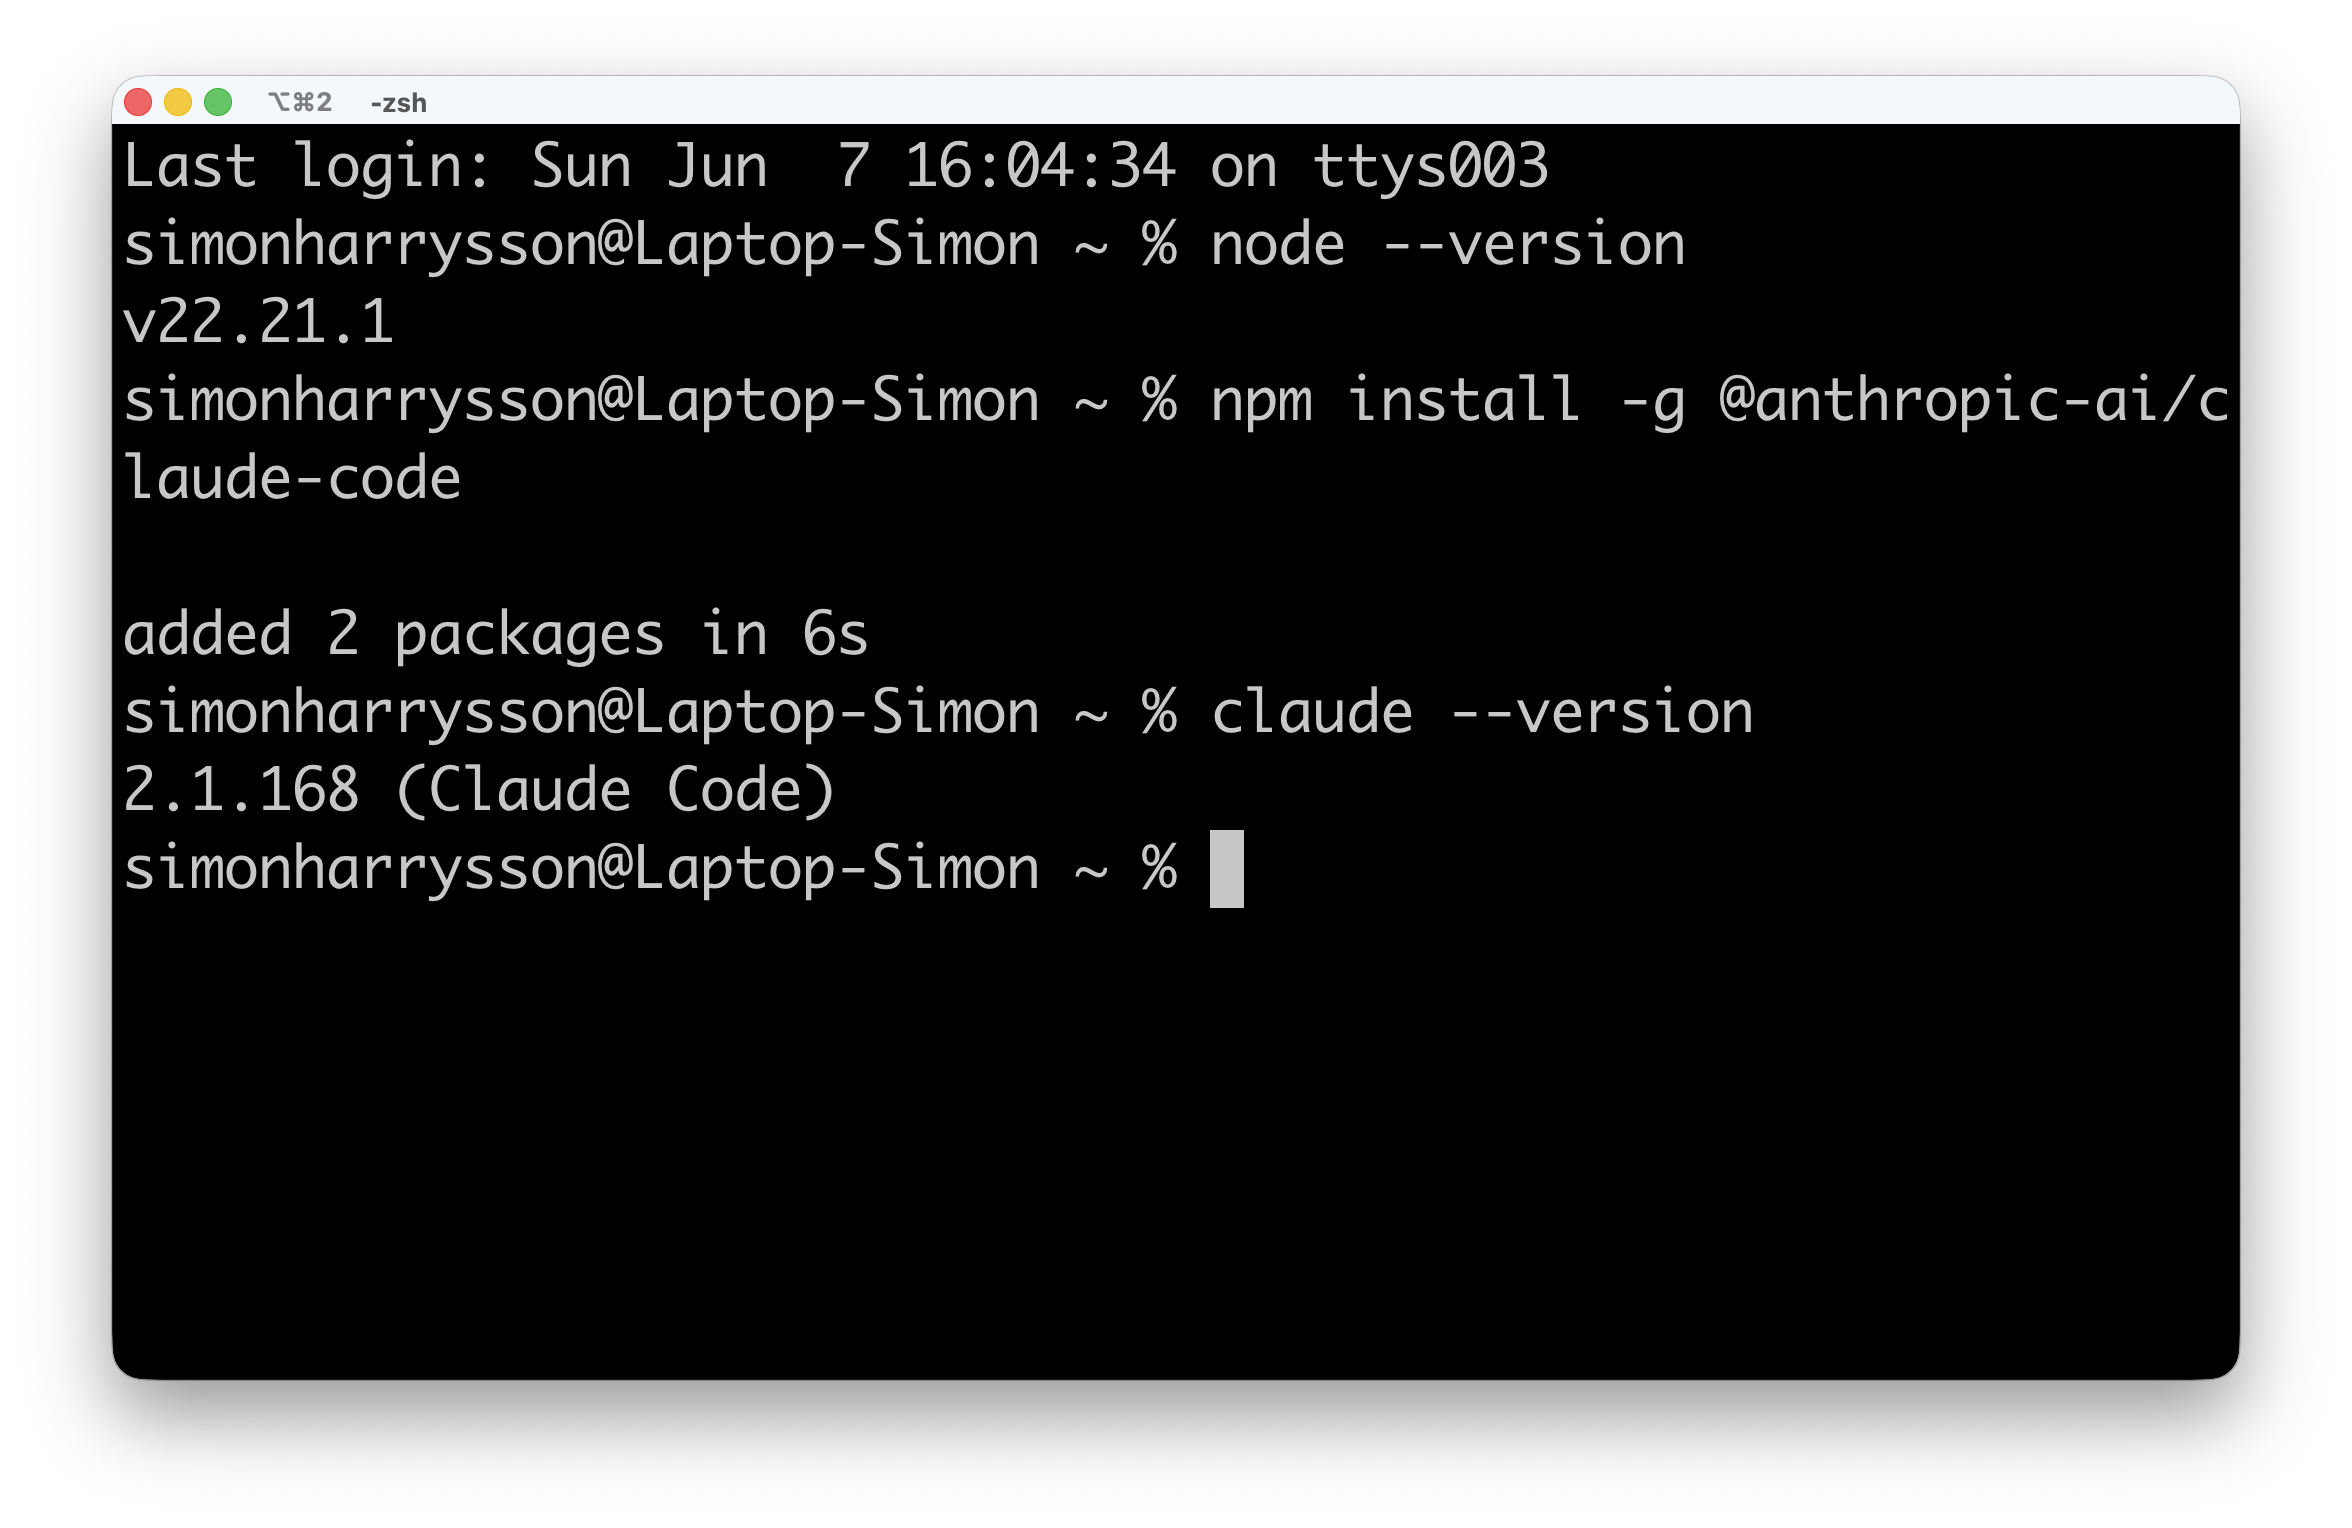
Back in your terminal, type this and press Enter:
A bunch of text will scroll past. That is normal. It is downloading and setting things up.
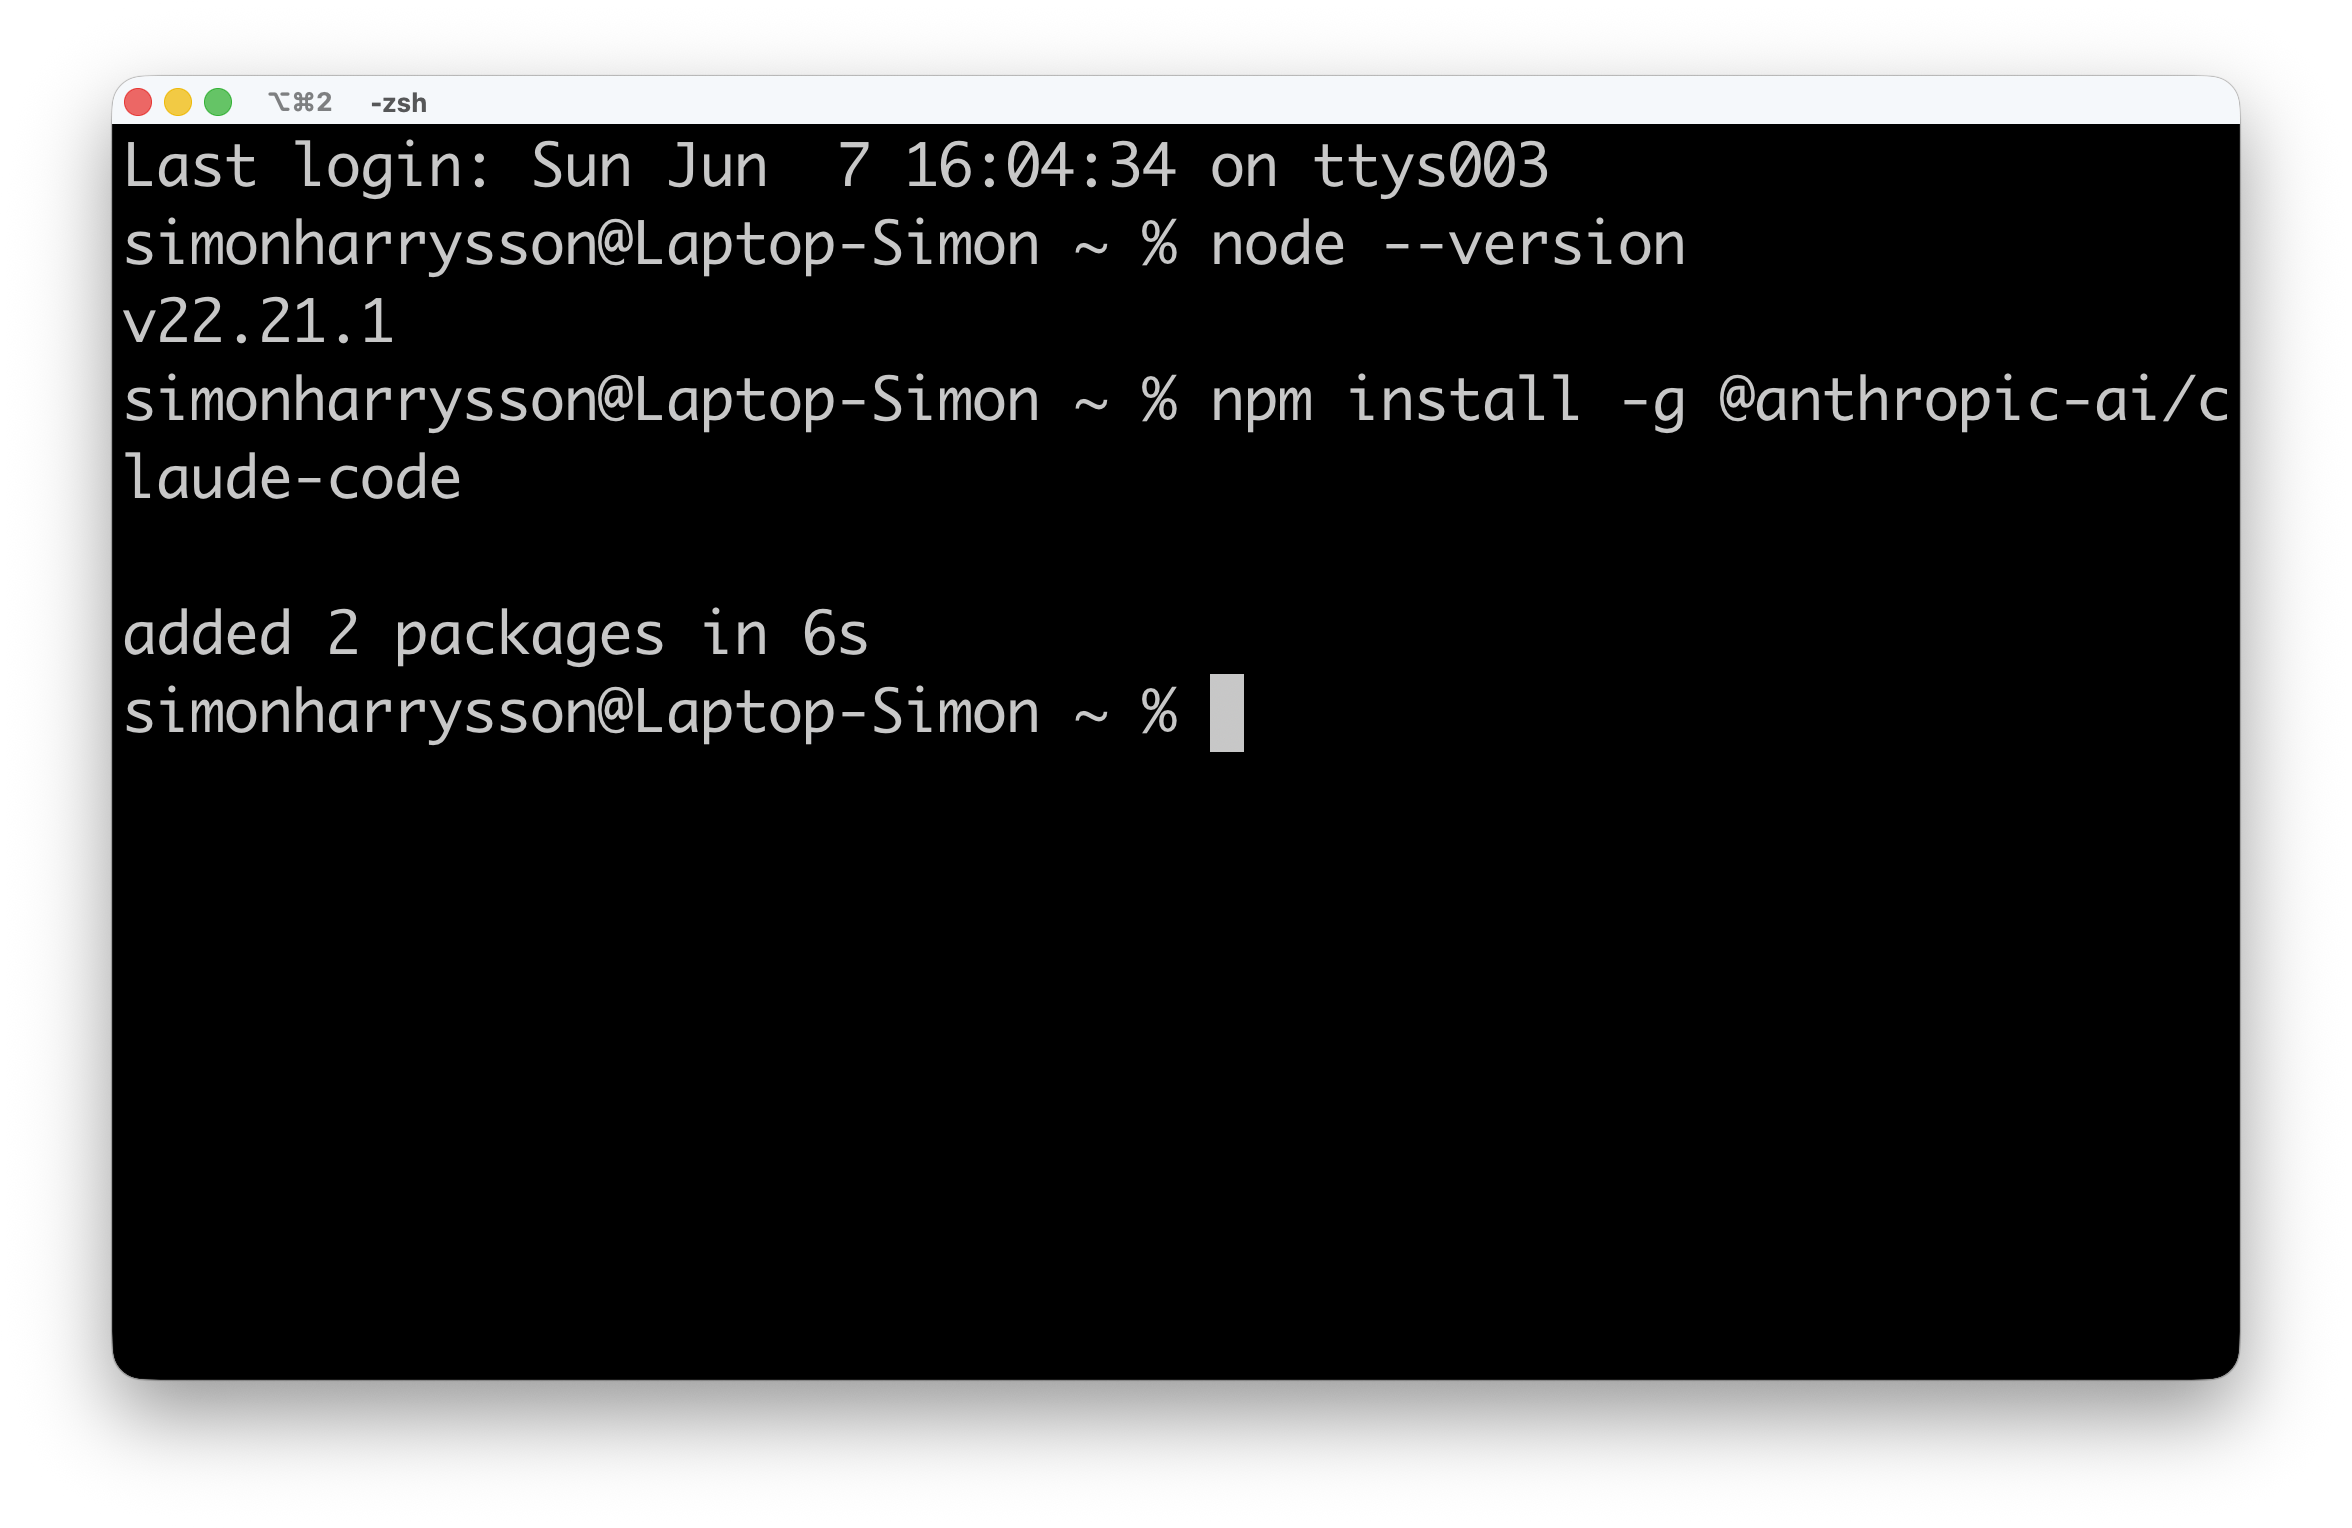
When it finishes, confirm it worked:
You should see a version number. If you do, you're ready.
Logging in for the first time
Last step. In your terminal, type:
Claude Code opens and the first thing it asks is how you want your terminal to look.
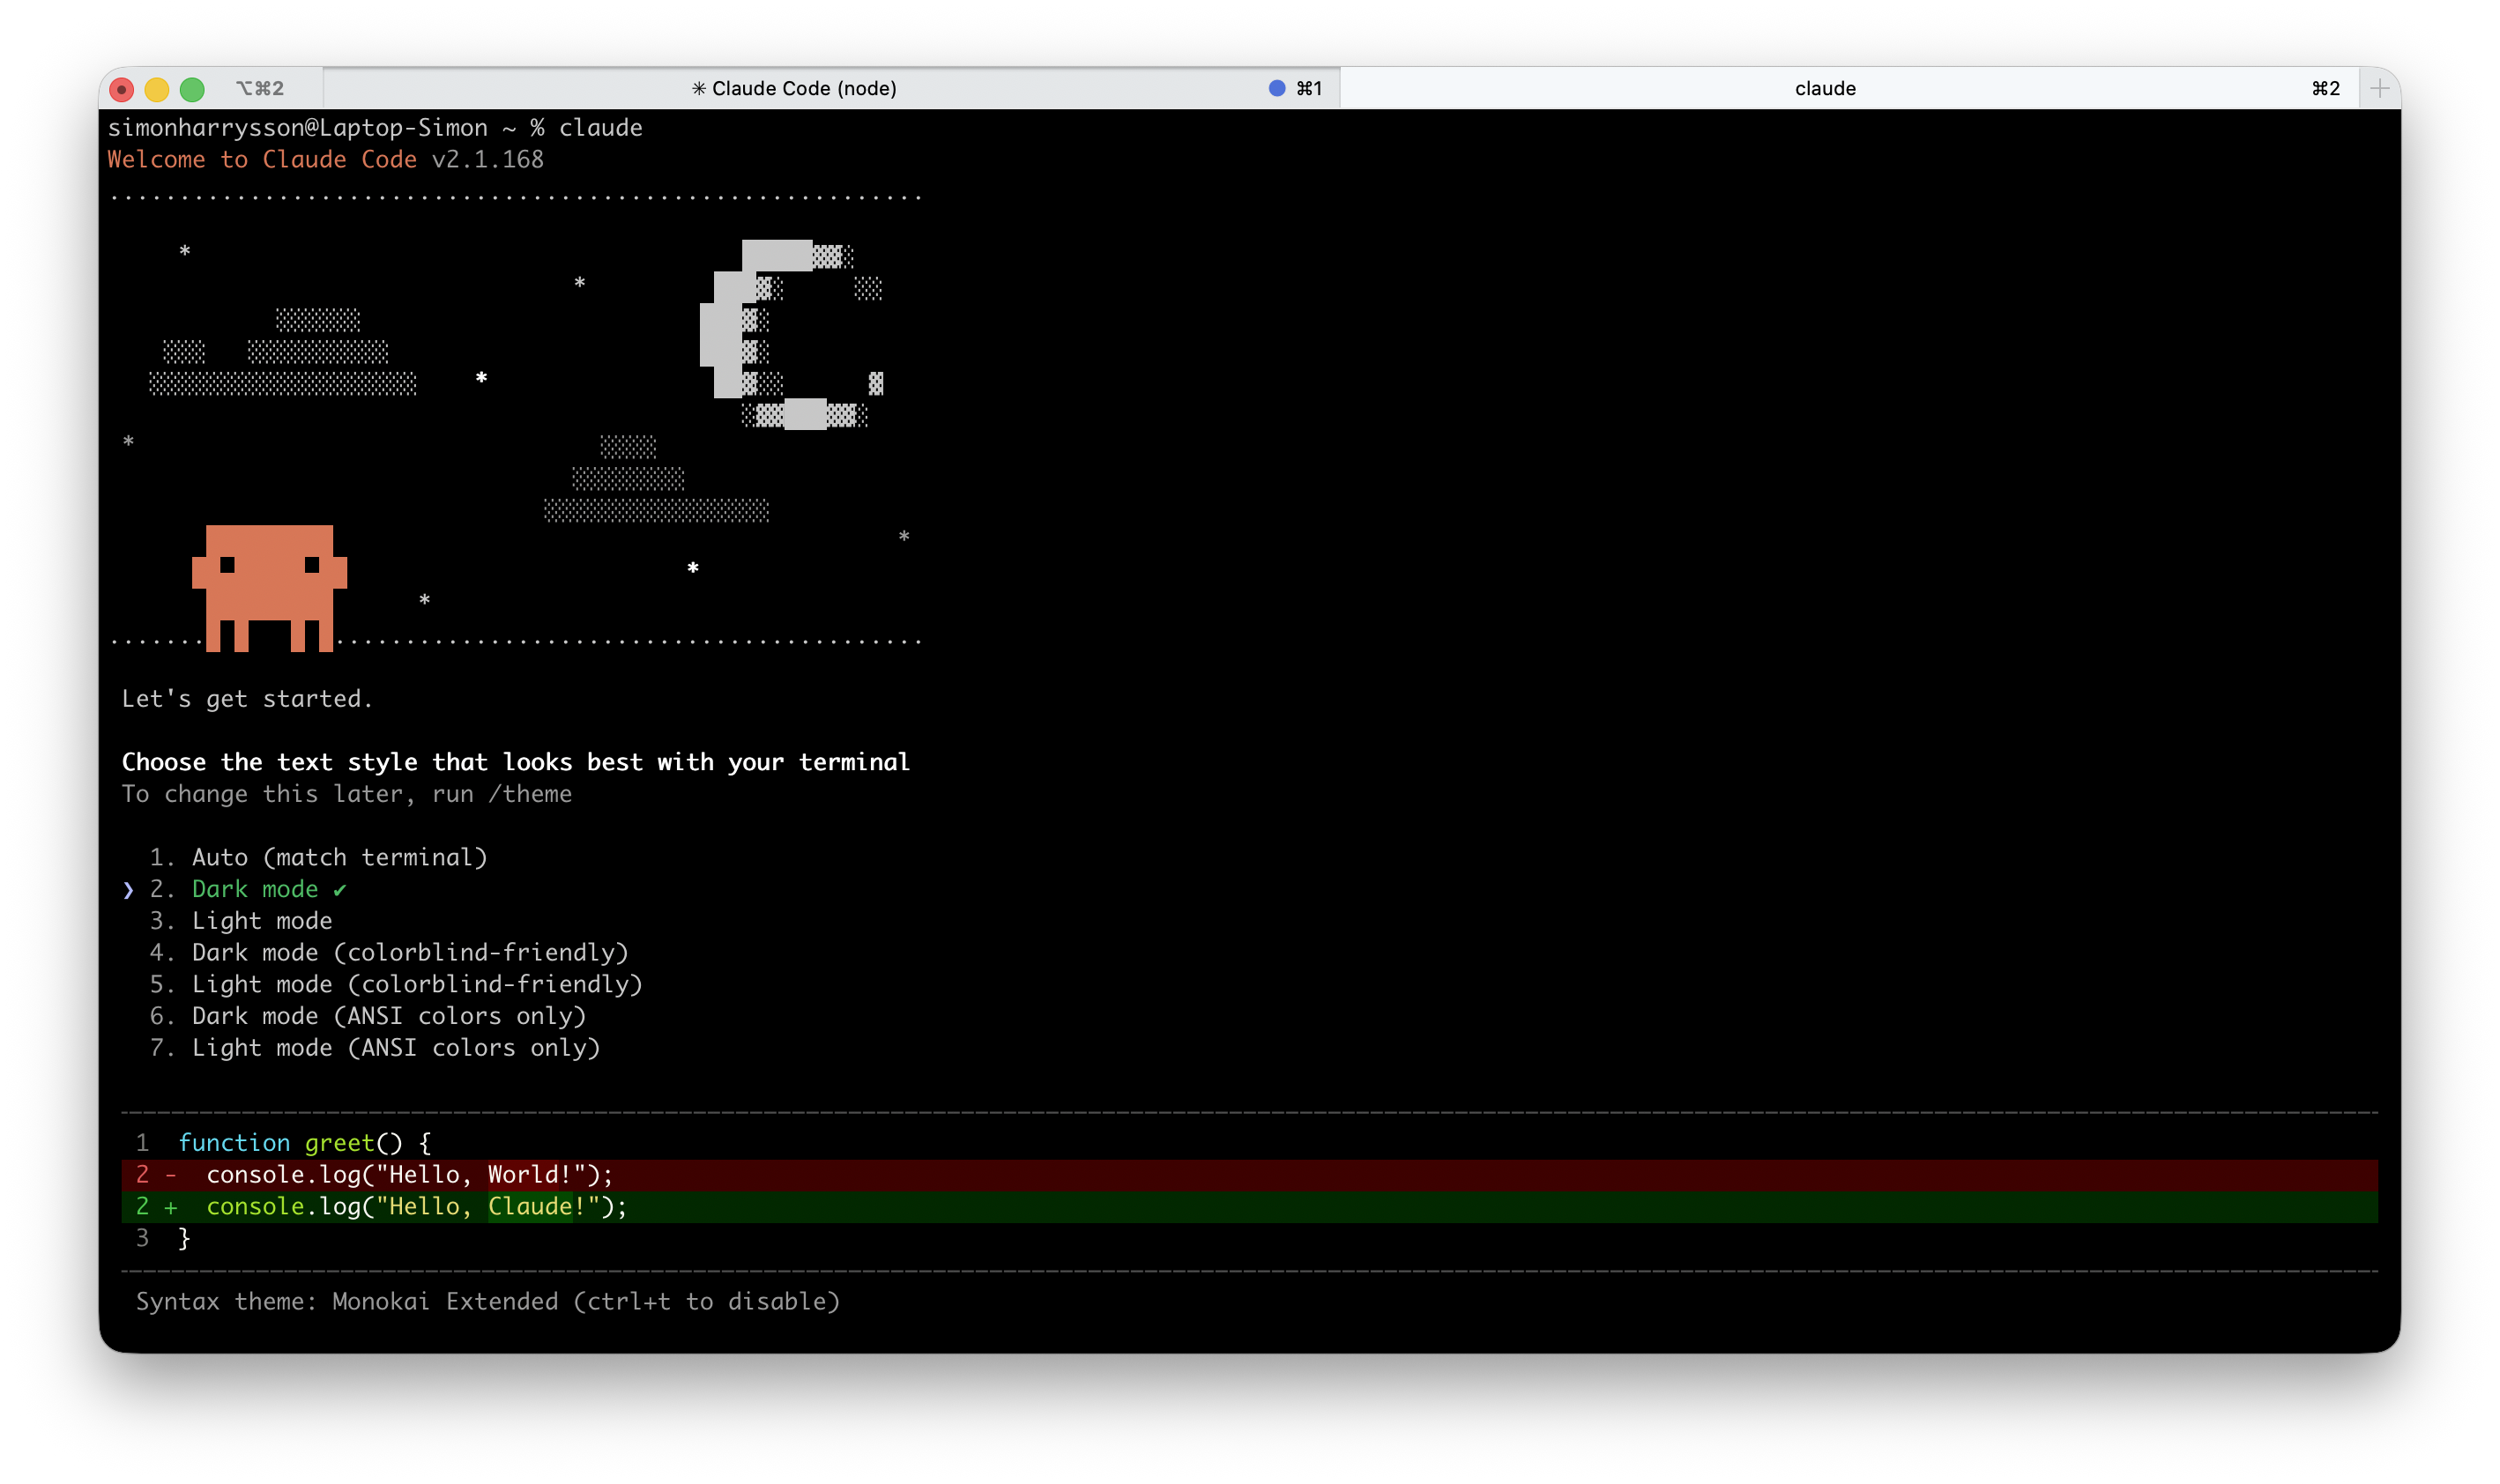
Press 2 for Dark mode or 3 for Light mode, then Enter. Either works fine.
Next it asks how you want to log in.
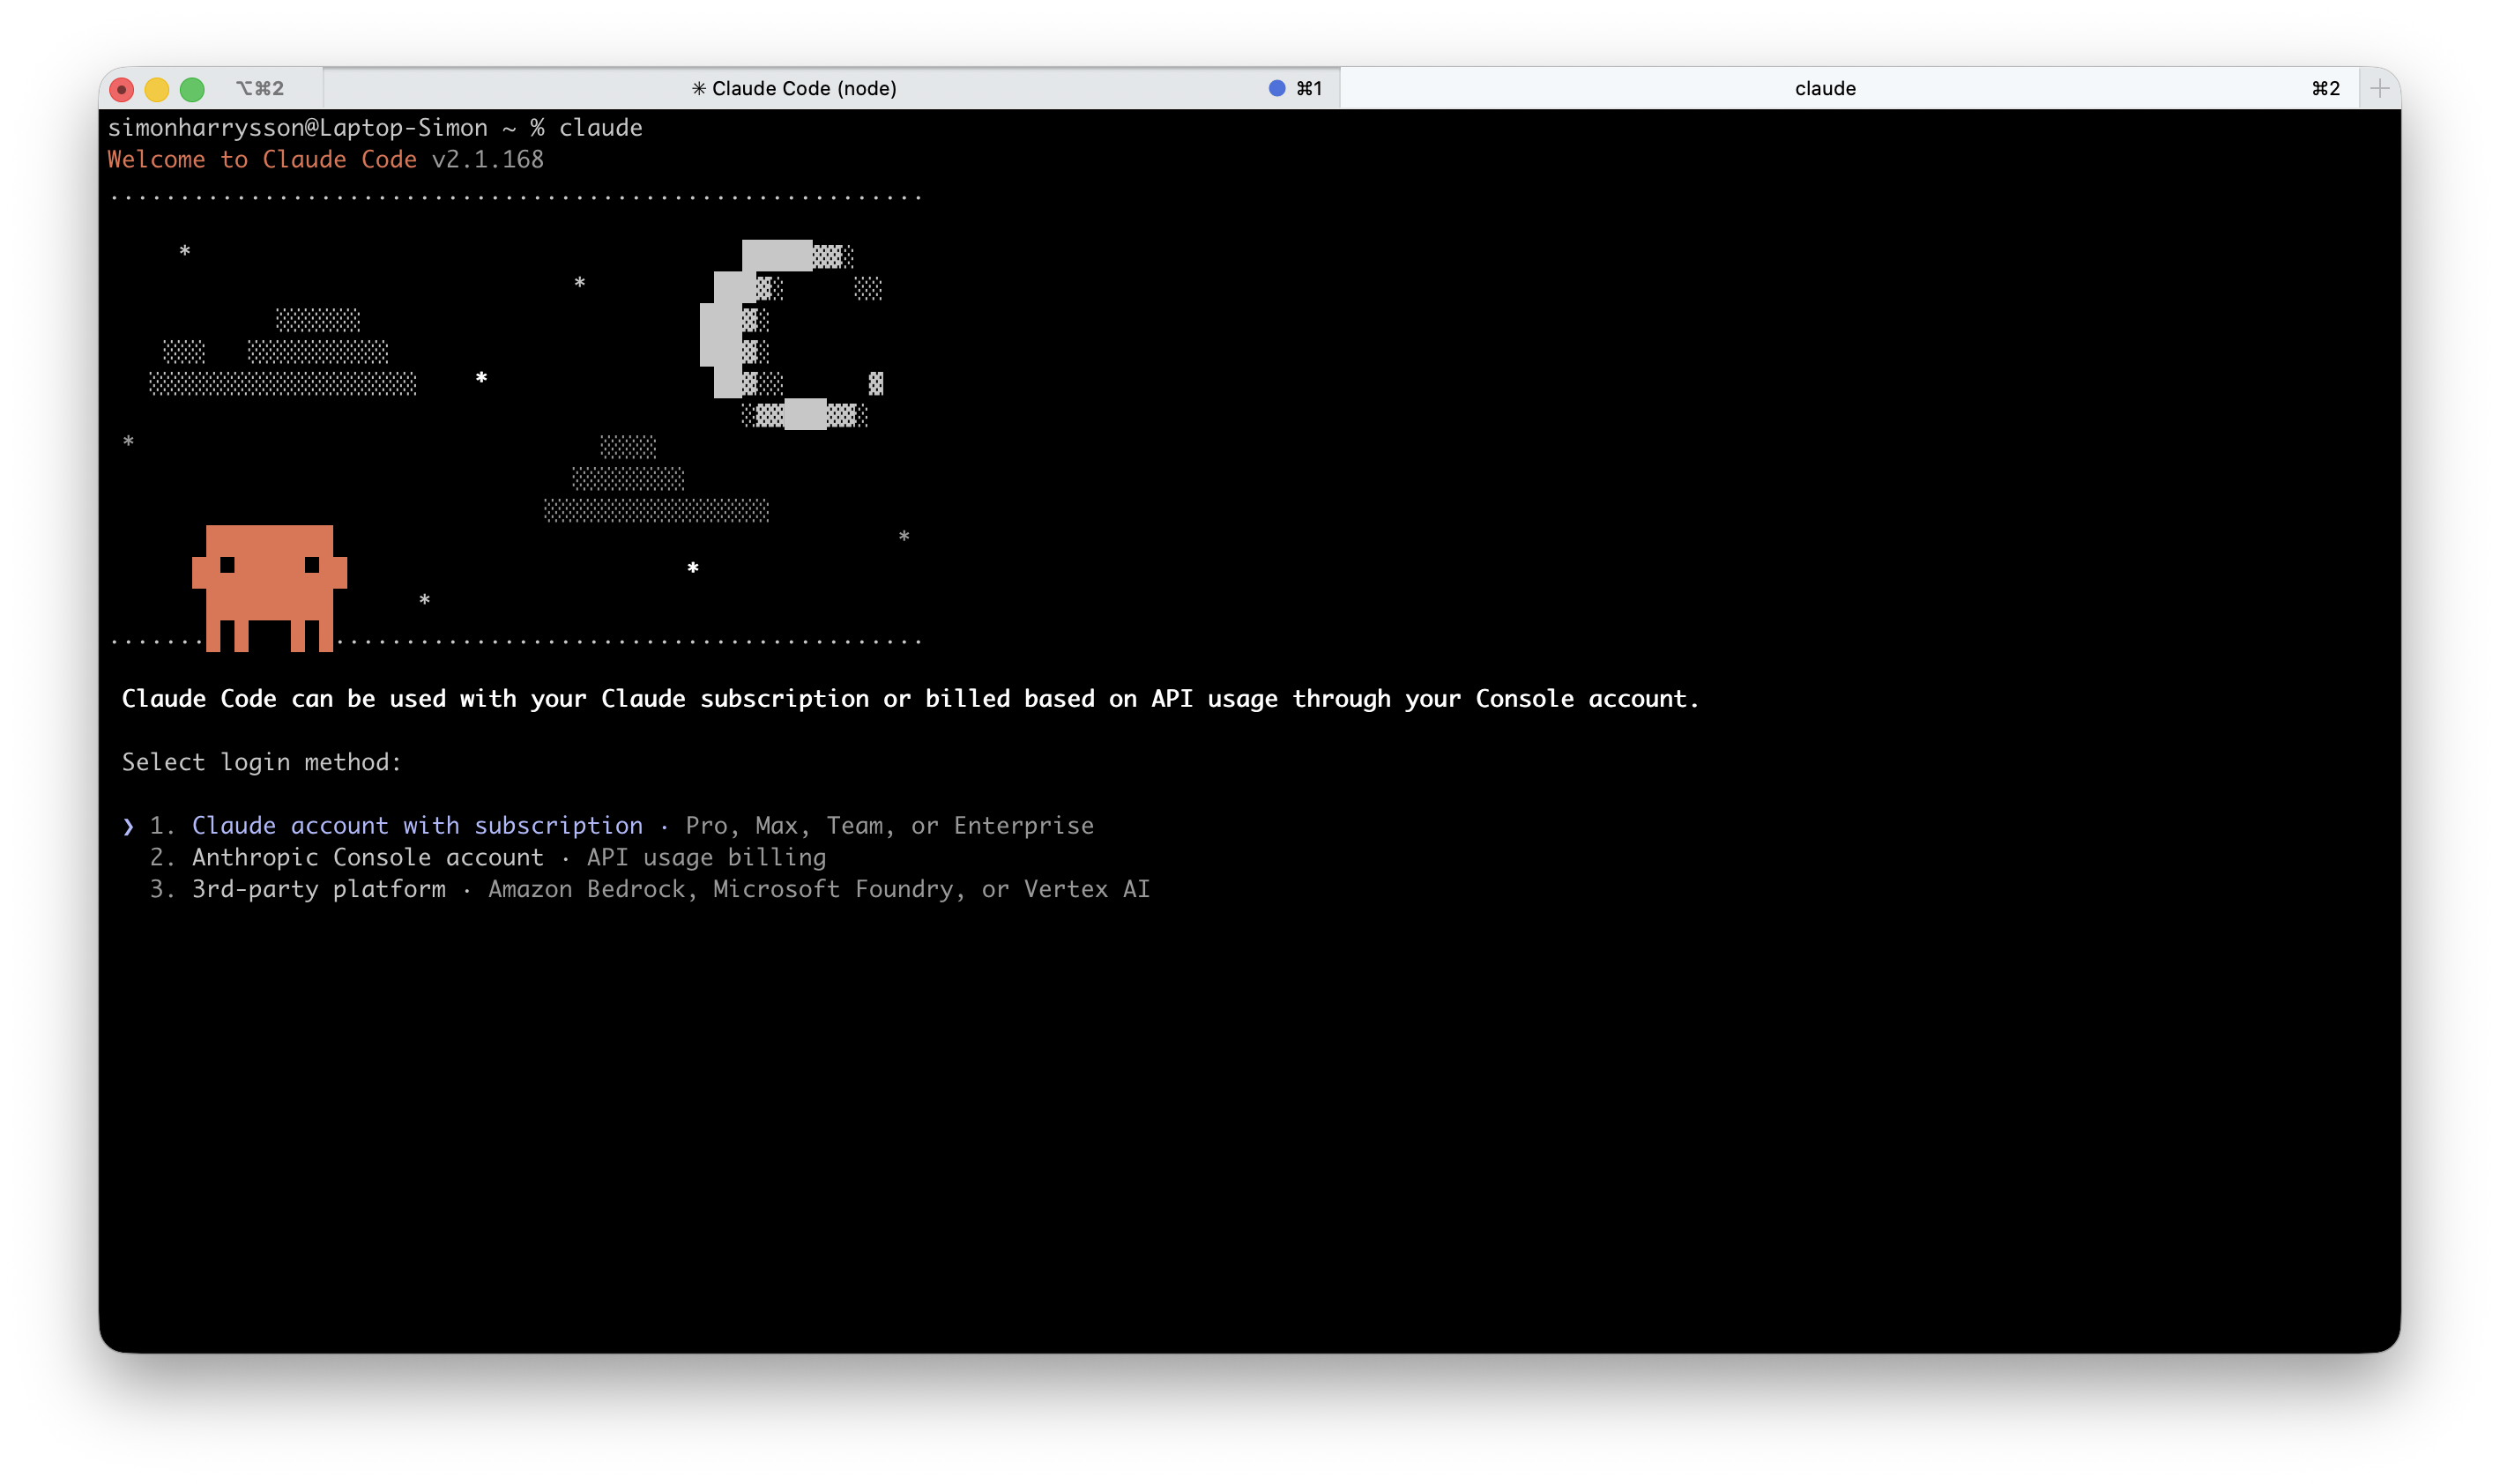
Press 1 (Claude account with subscription) and Enter. This is the option that uses the Pro plan you just signed up for.
A browser tab opens automatically.
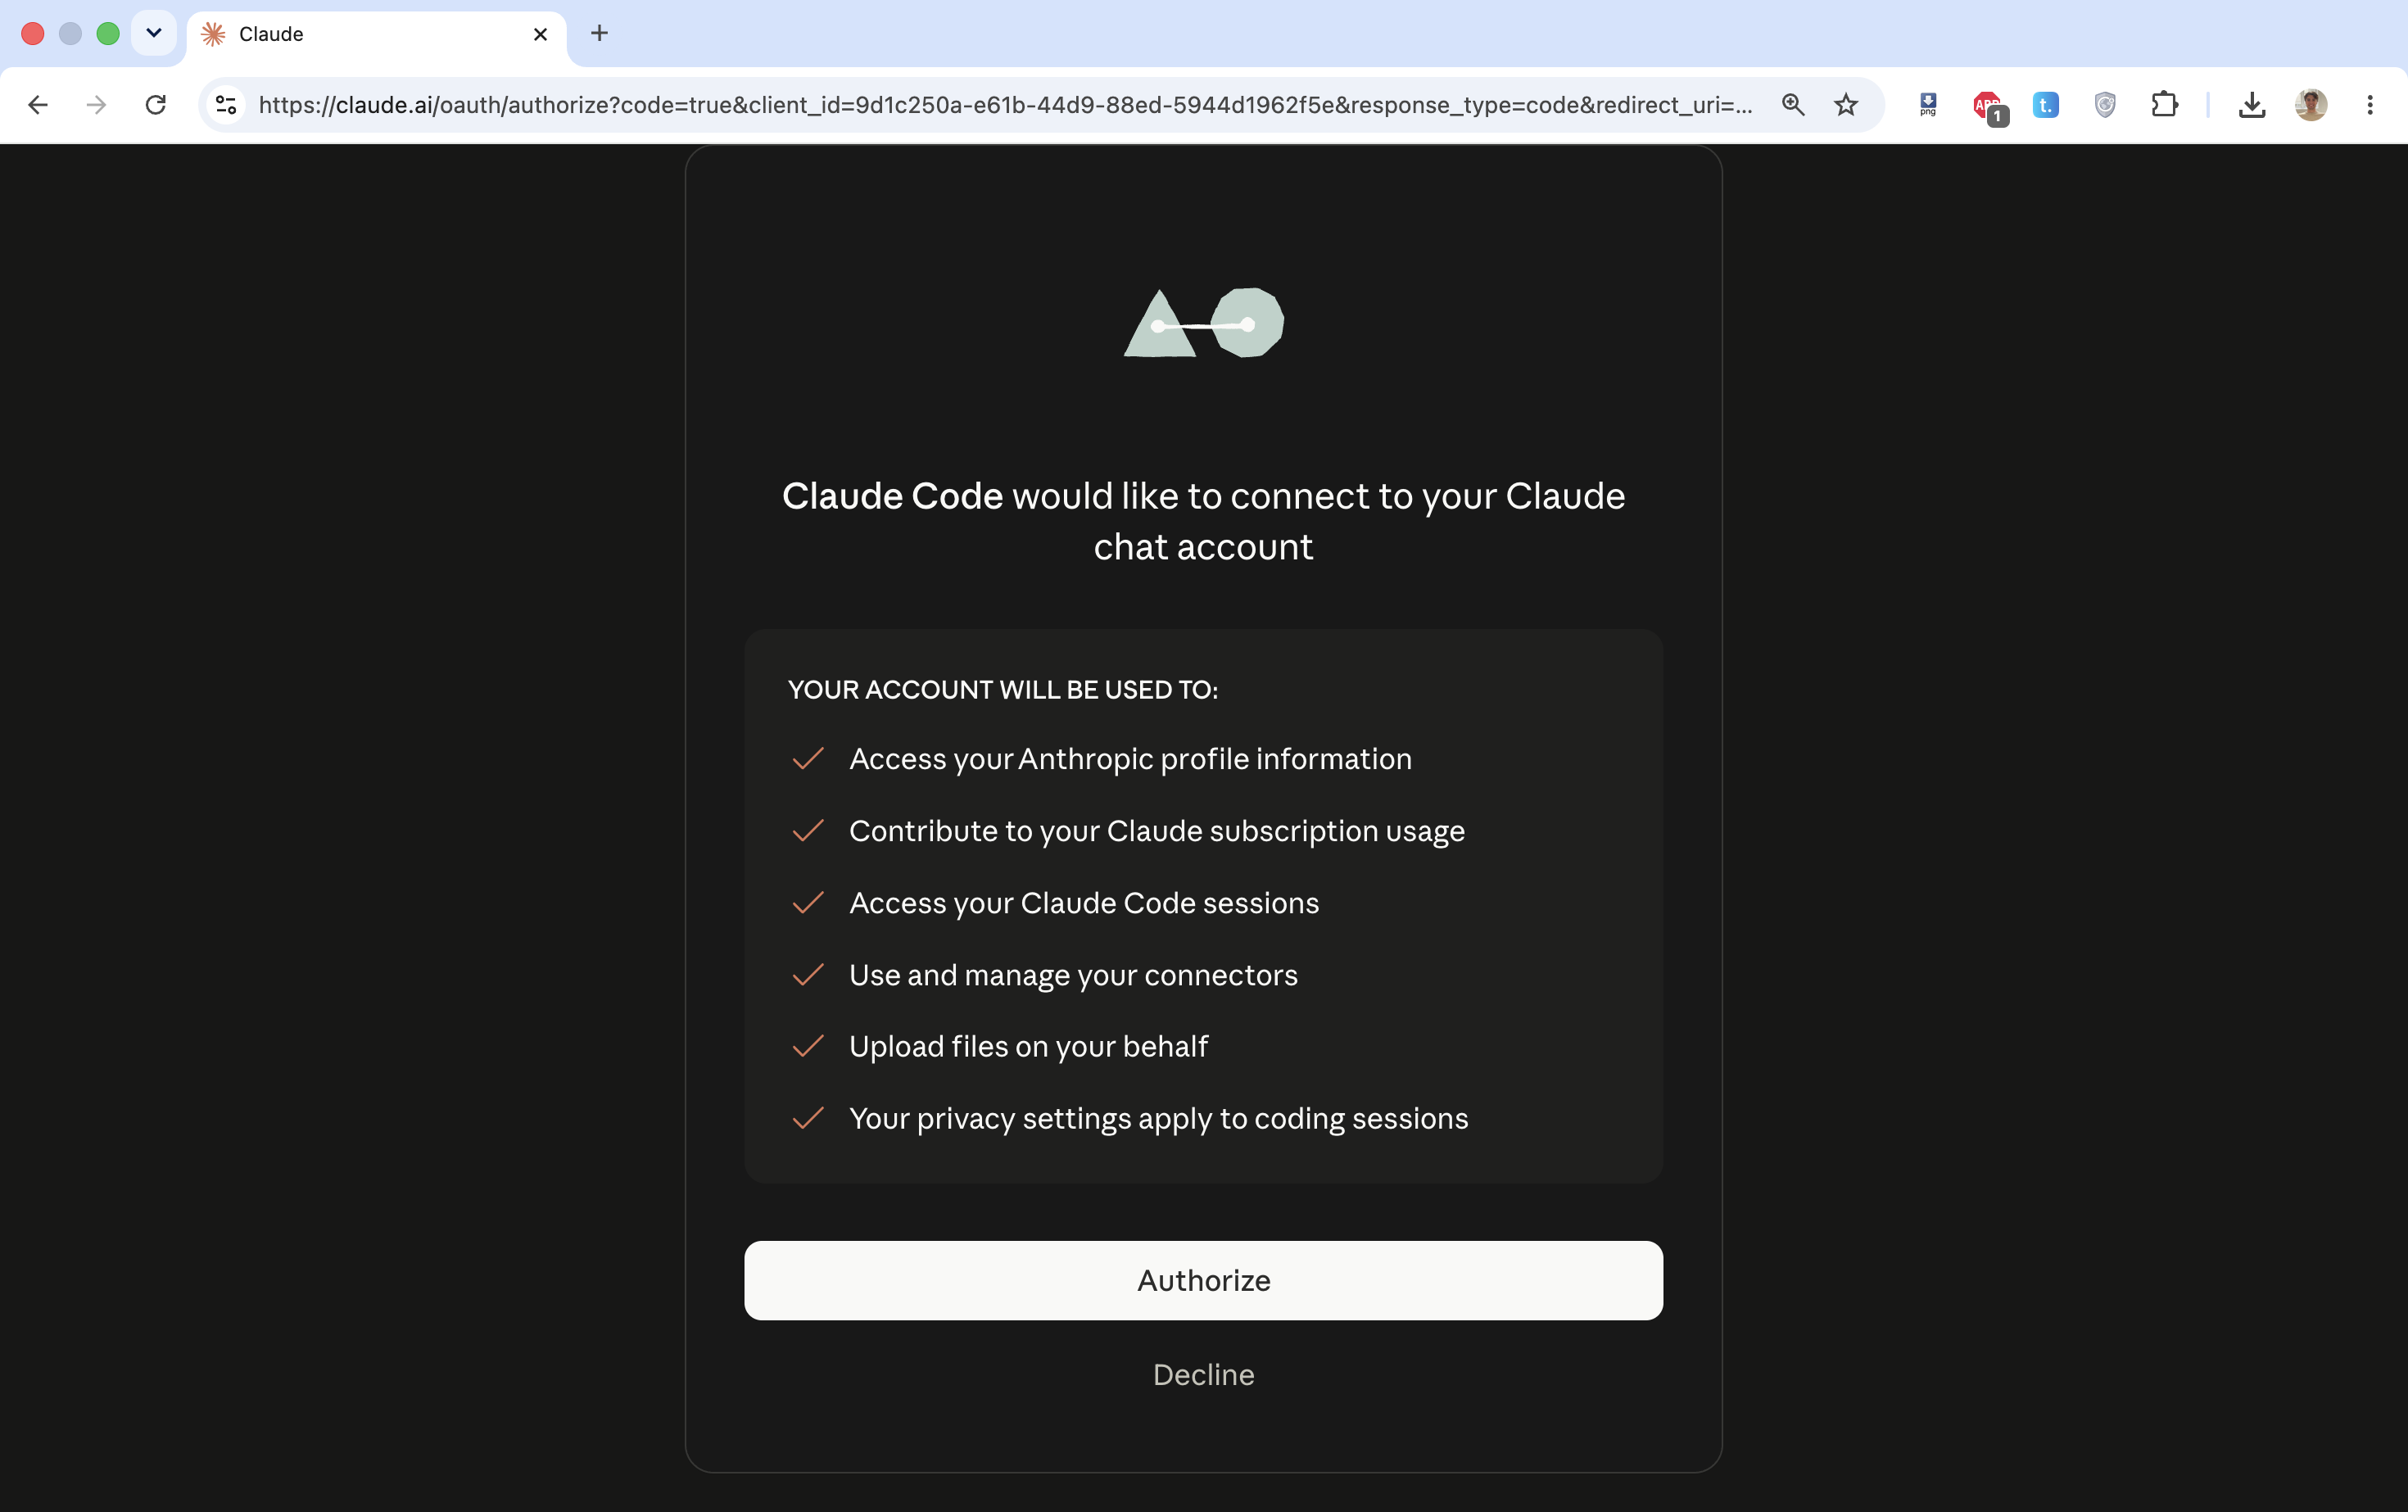
Click Authorize. You will see a confirmation page.
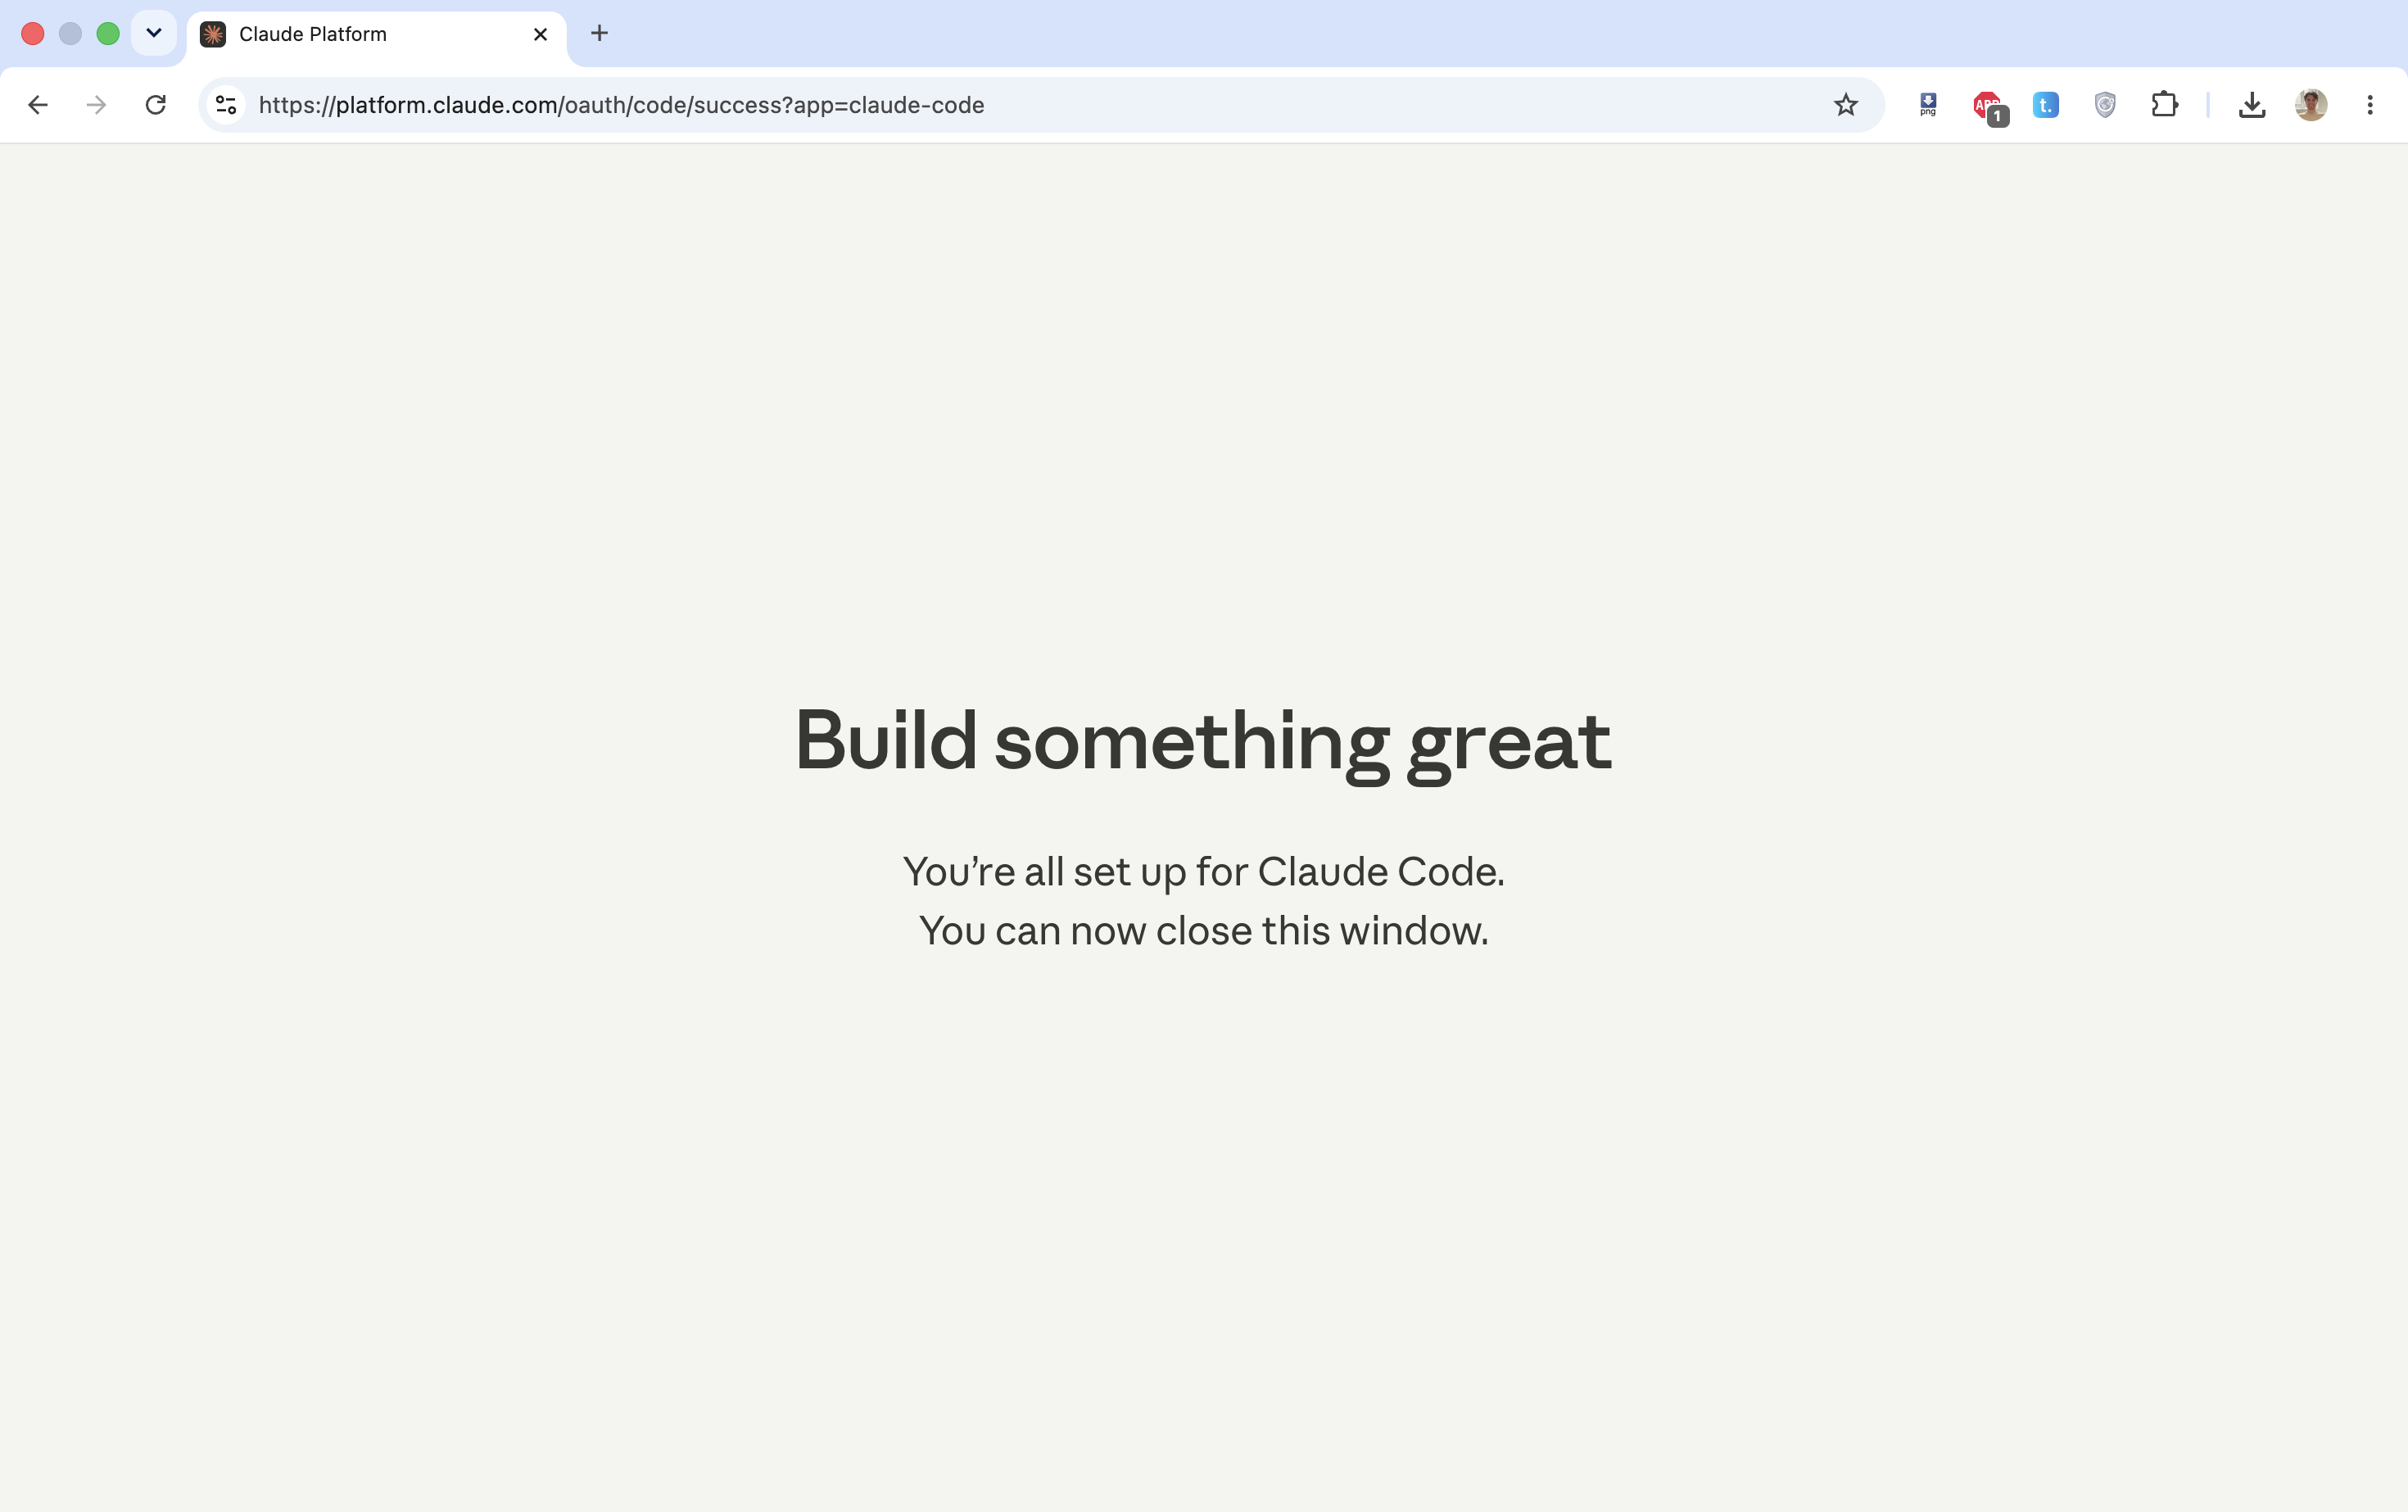
Close that tab and go back to your terminal. It will show your email address and a success message.
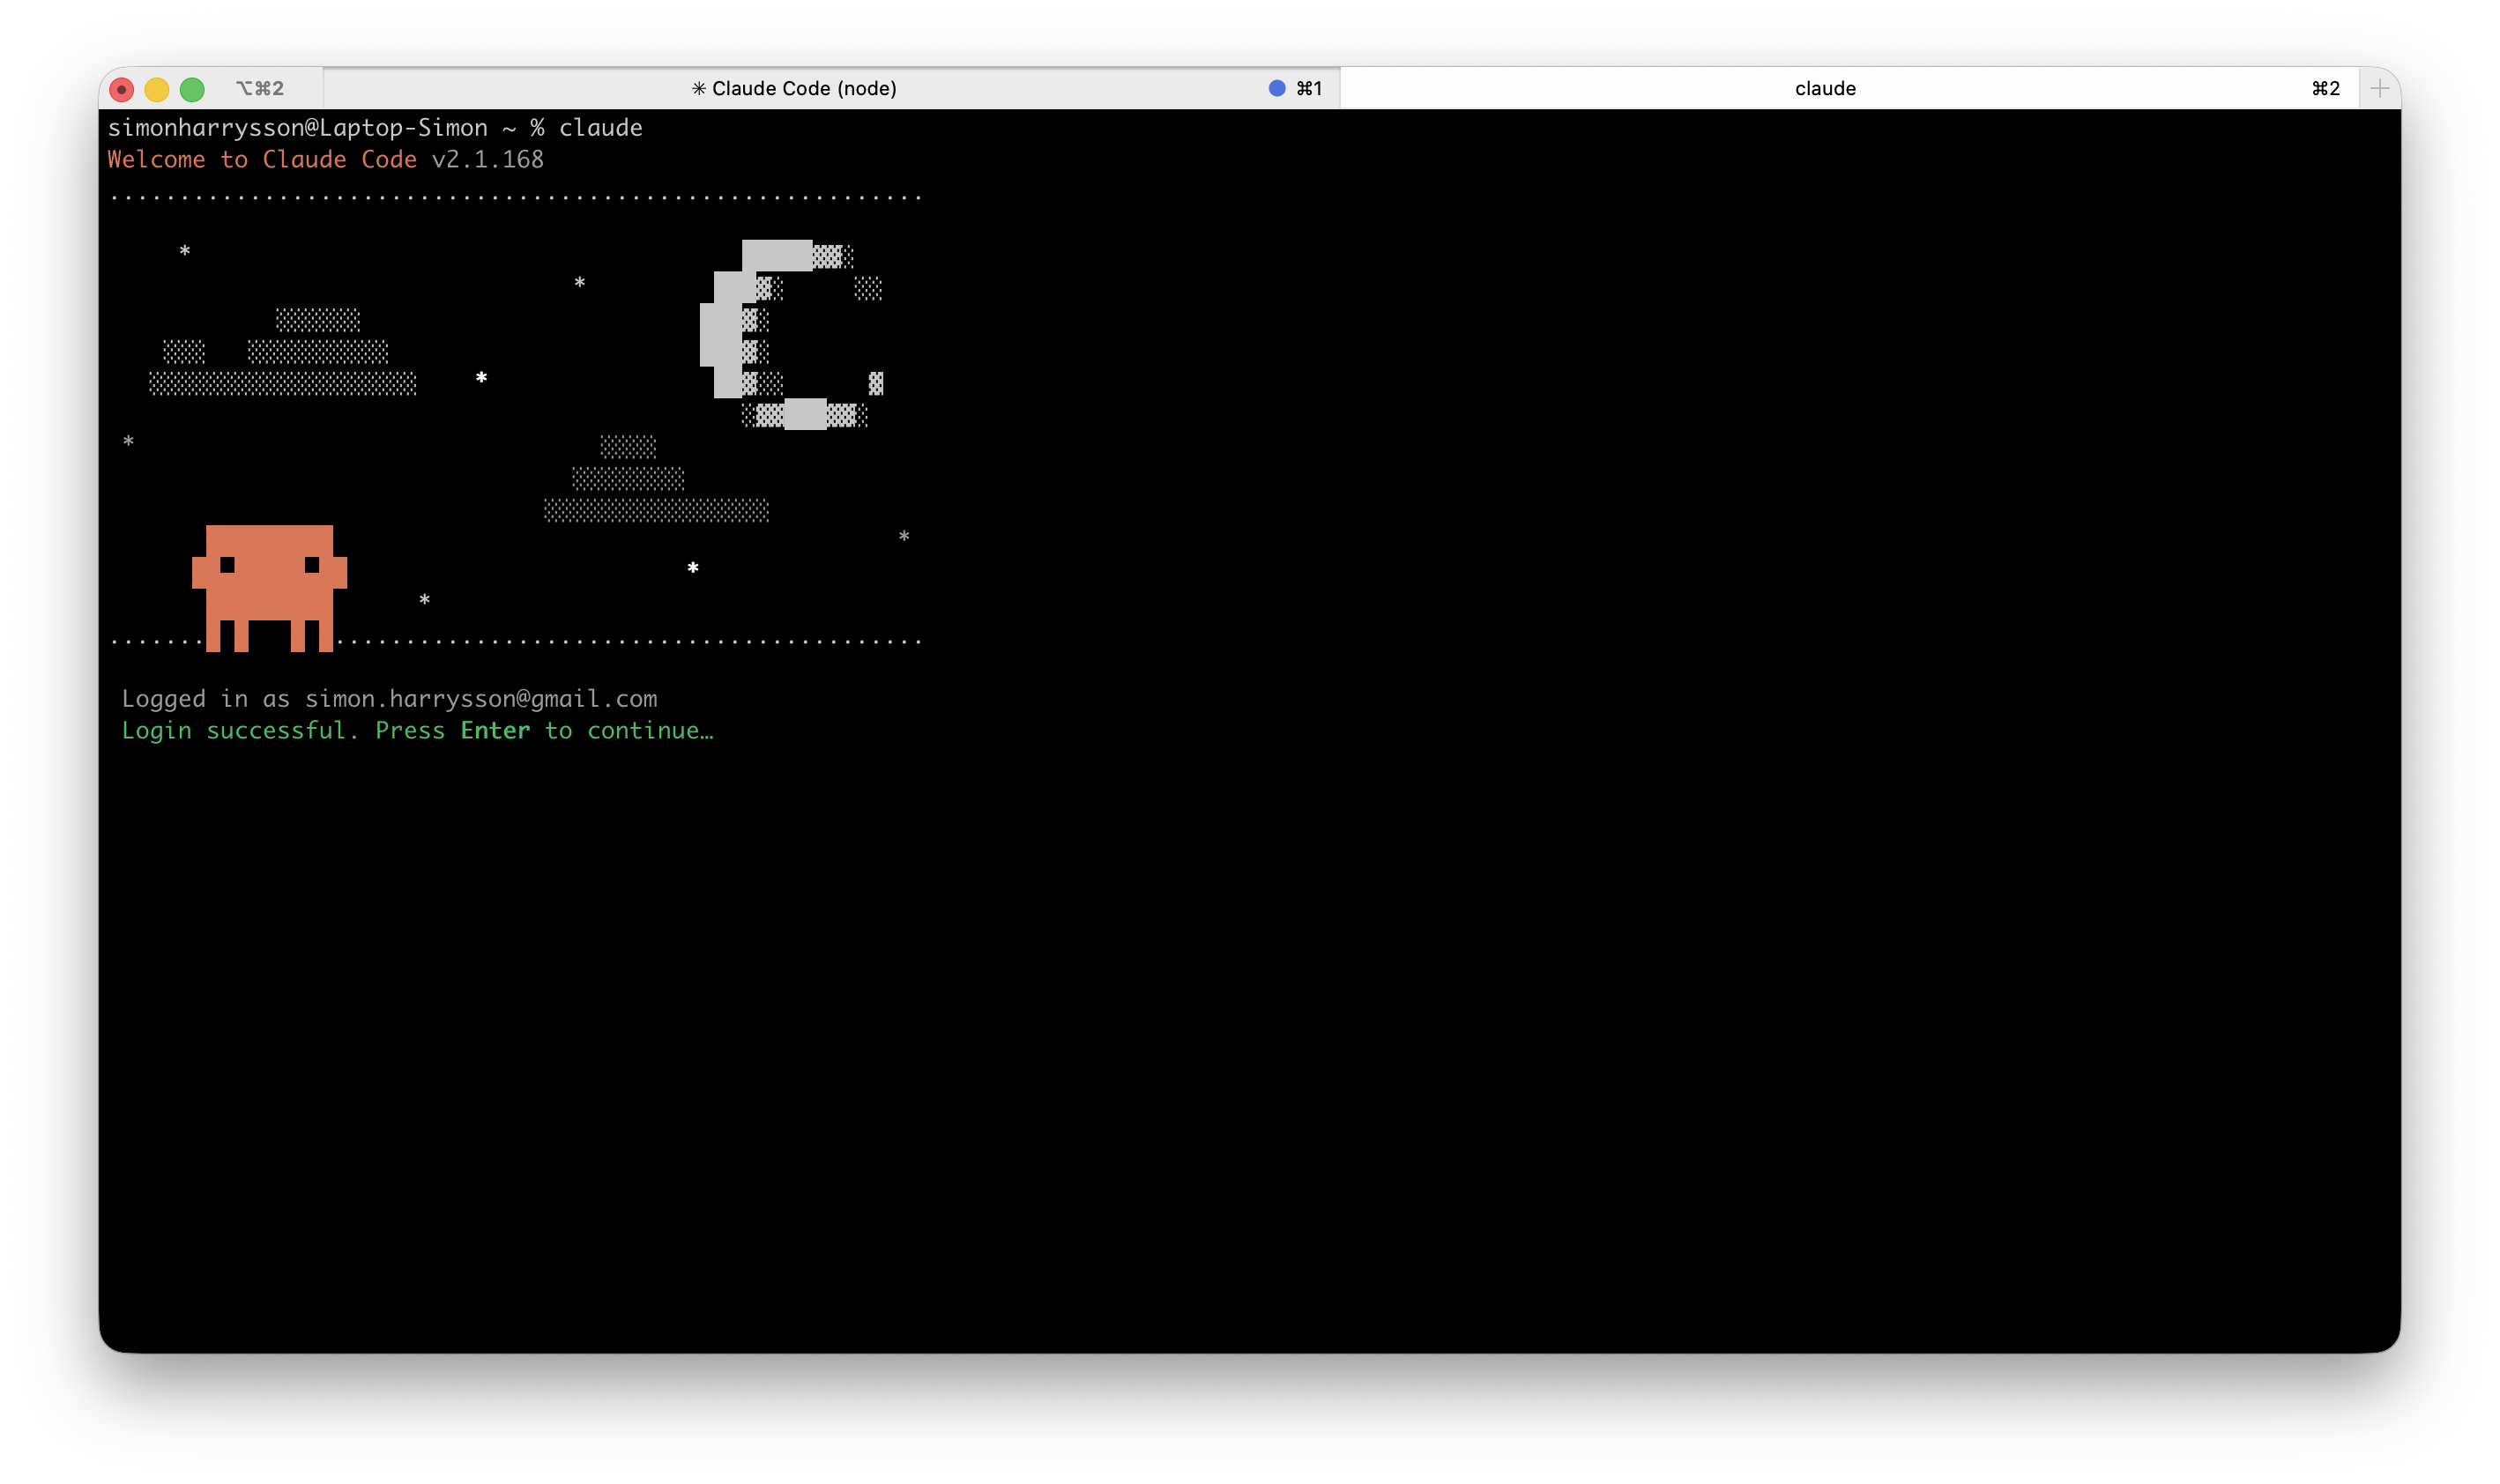
Press Enter to continue. One more screen appears.
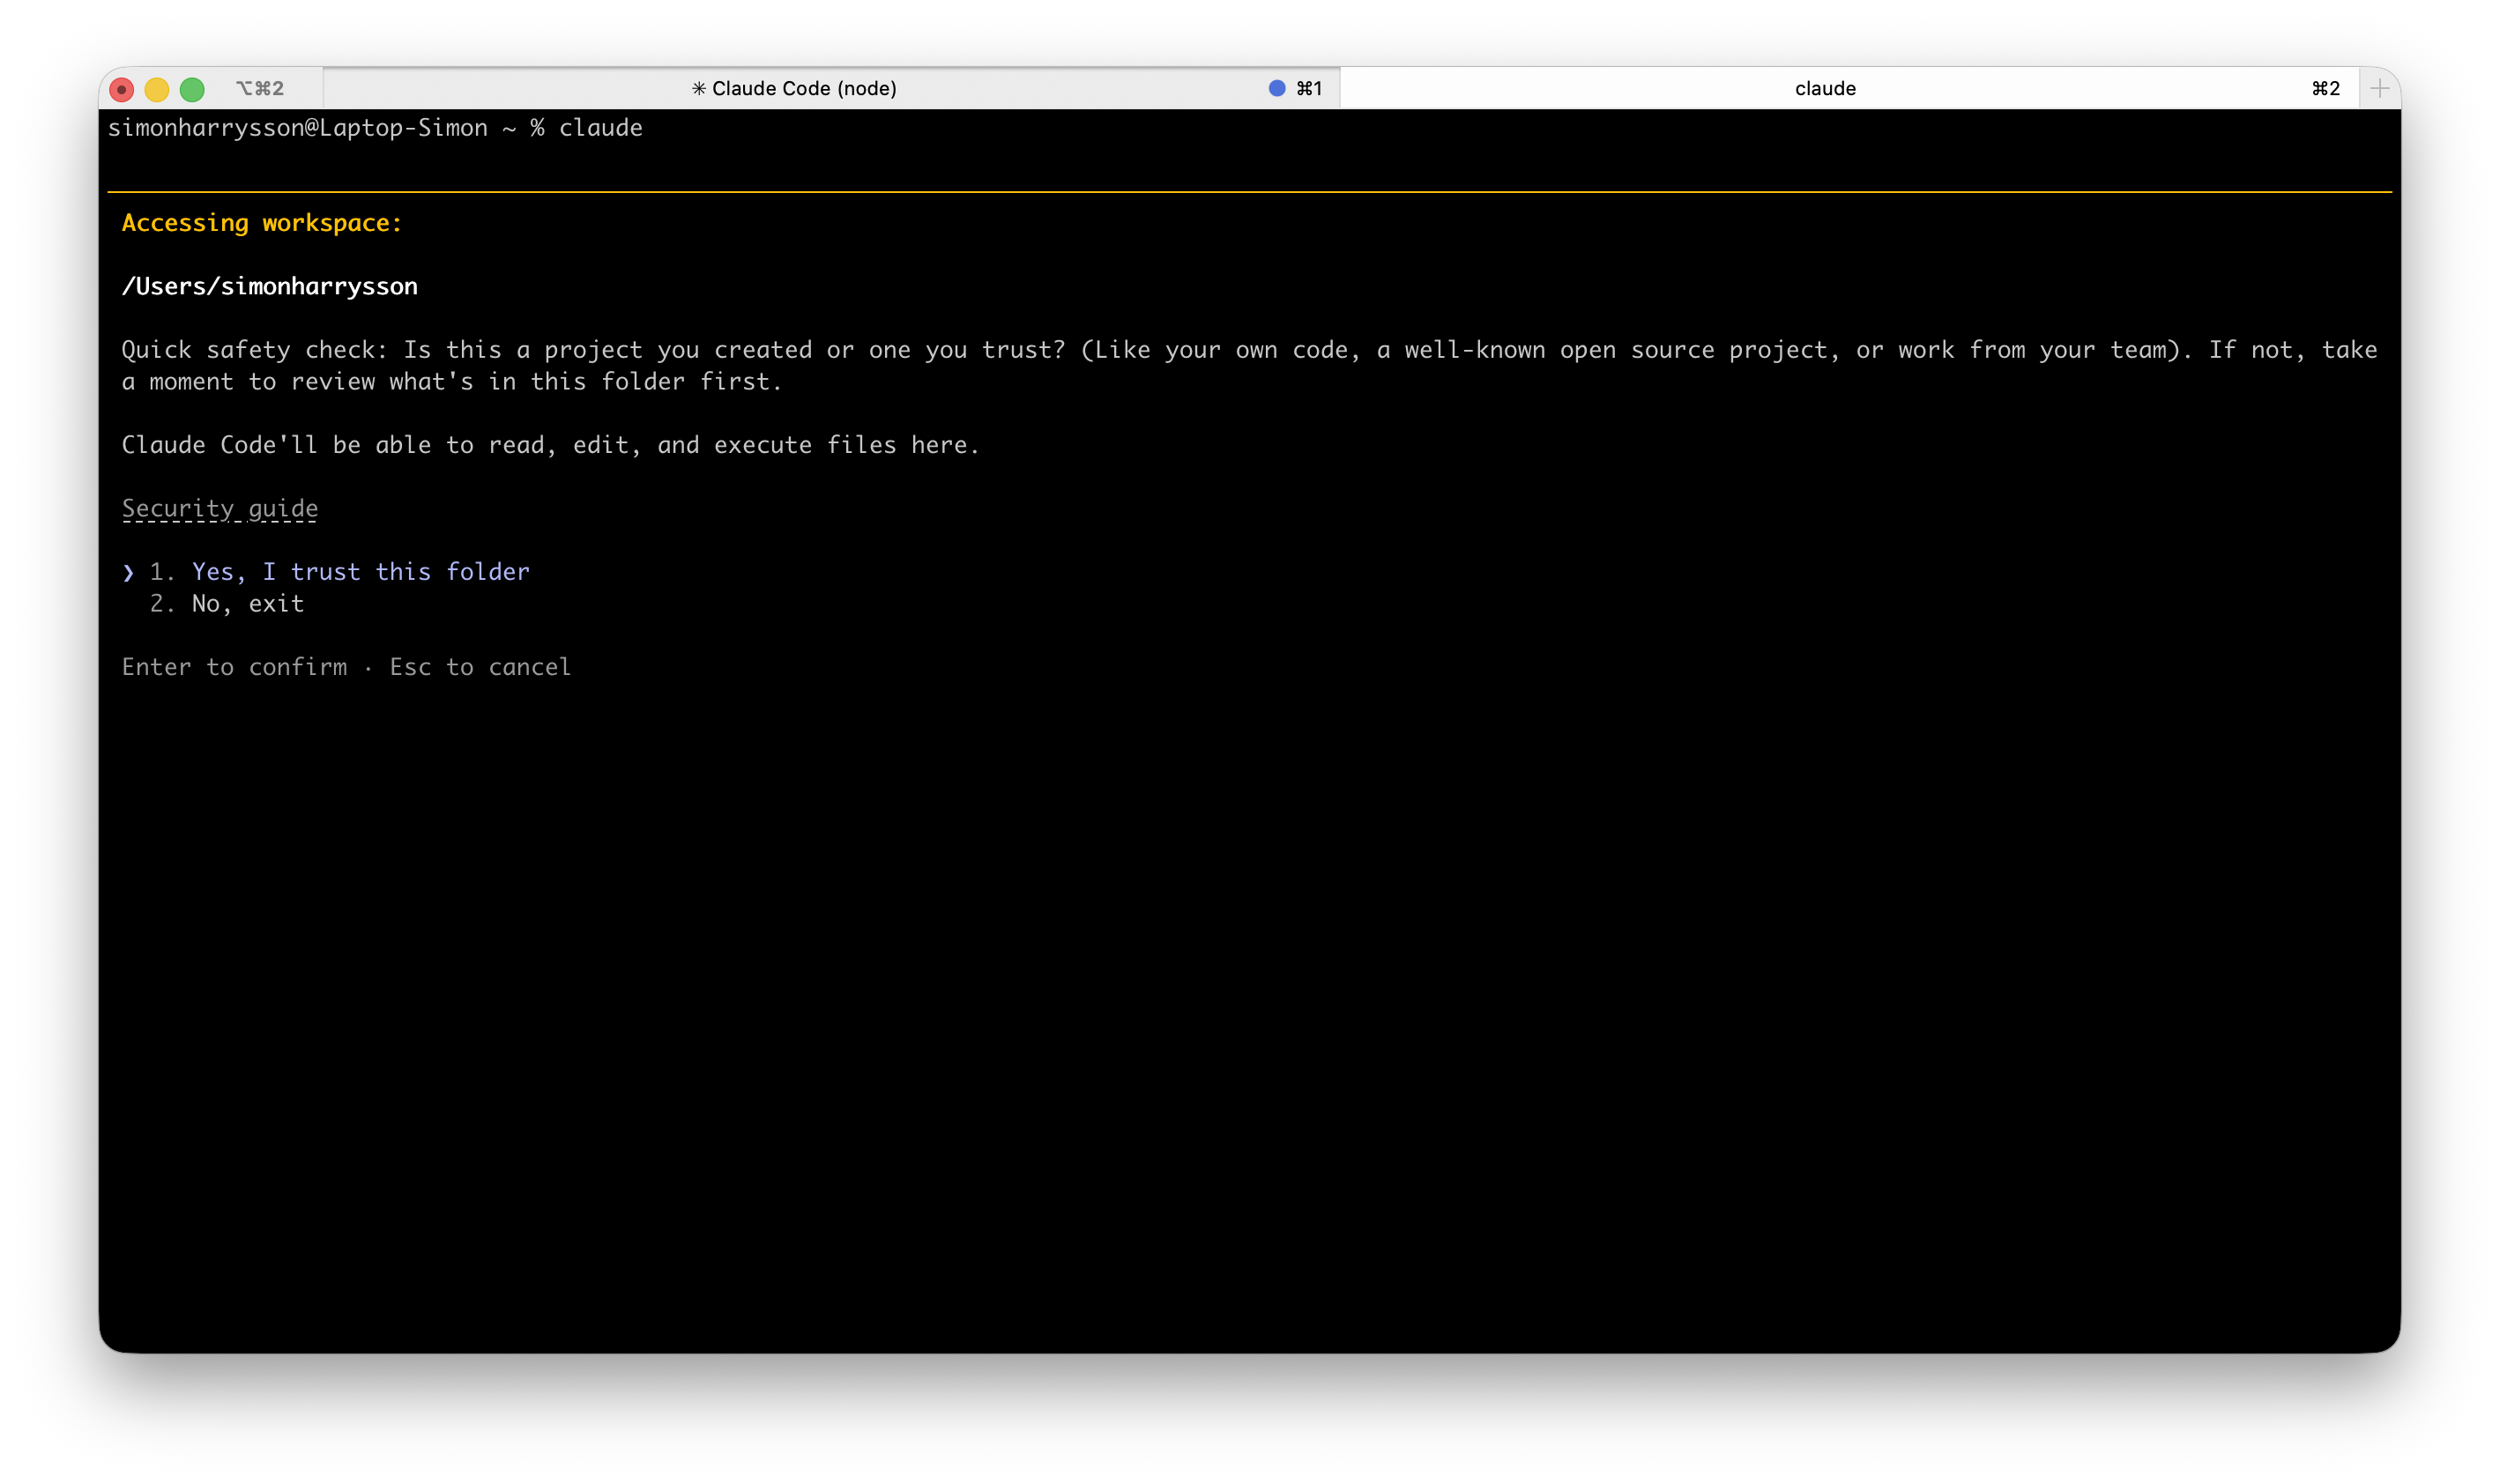
This is a safety check. Claude is asking whether it is allowed to read and edit files in this folder. Press 1 to confirm, then Enter.
You are in. Claude Code is ready.
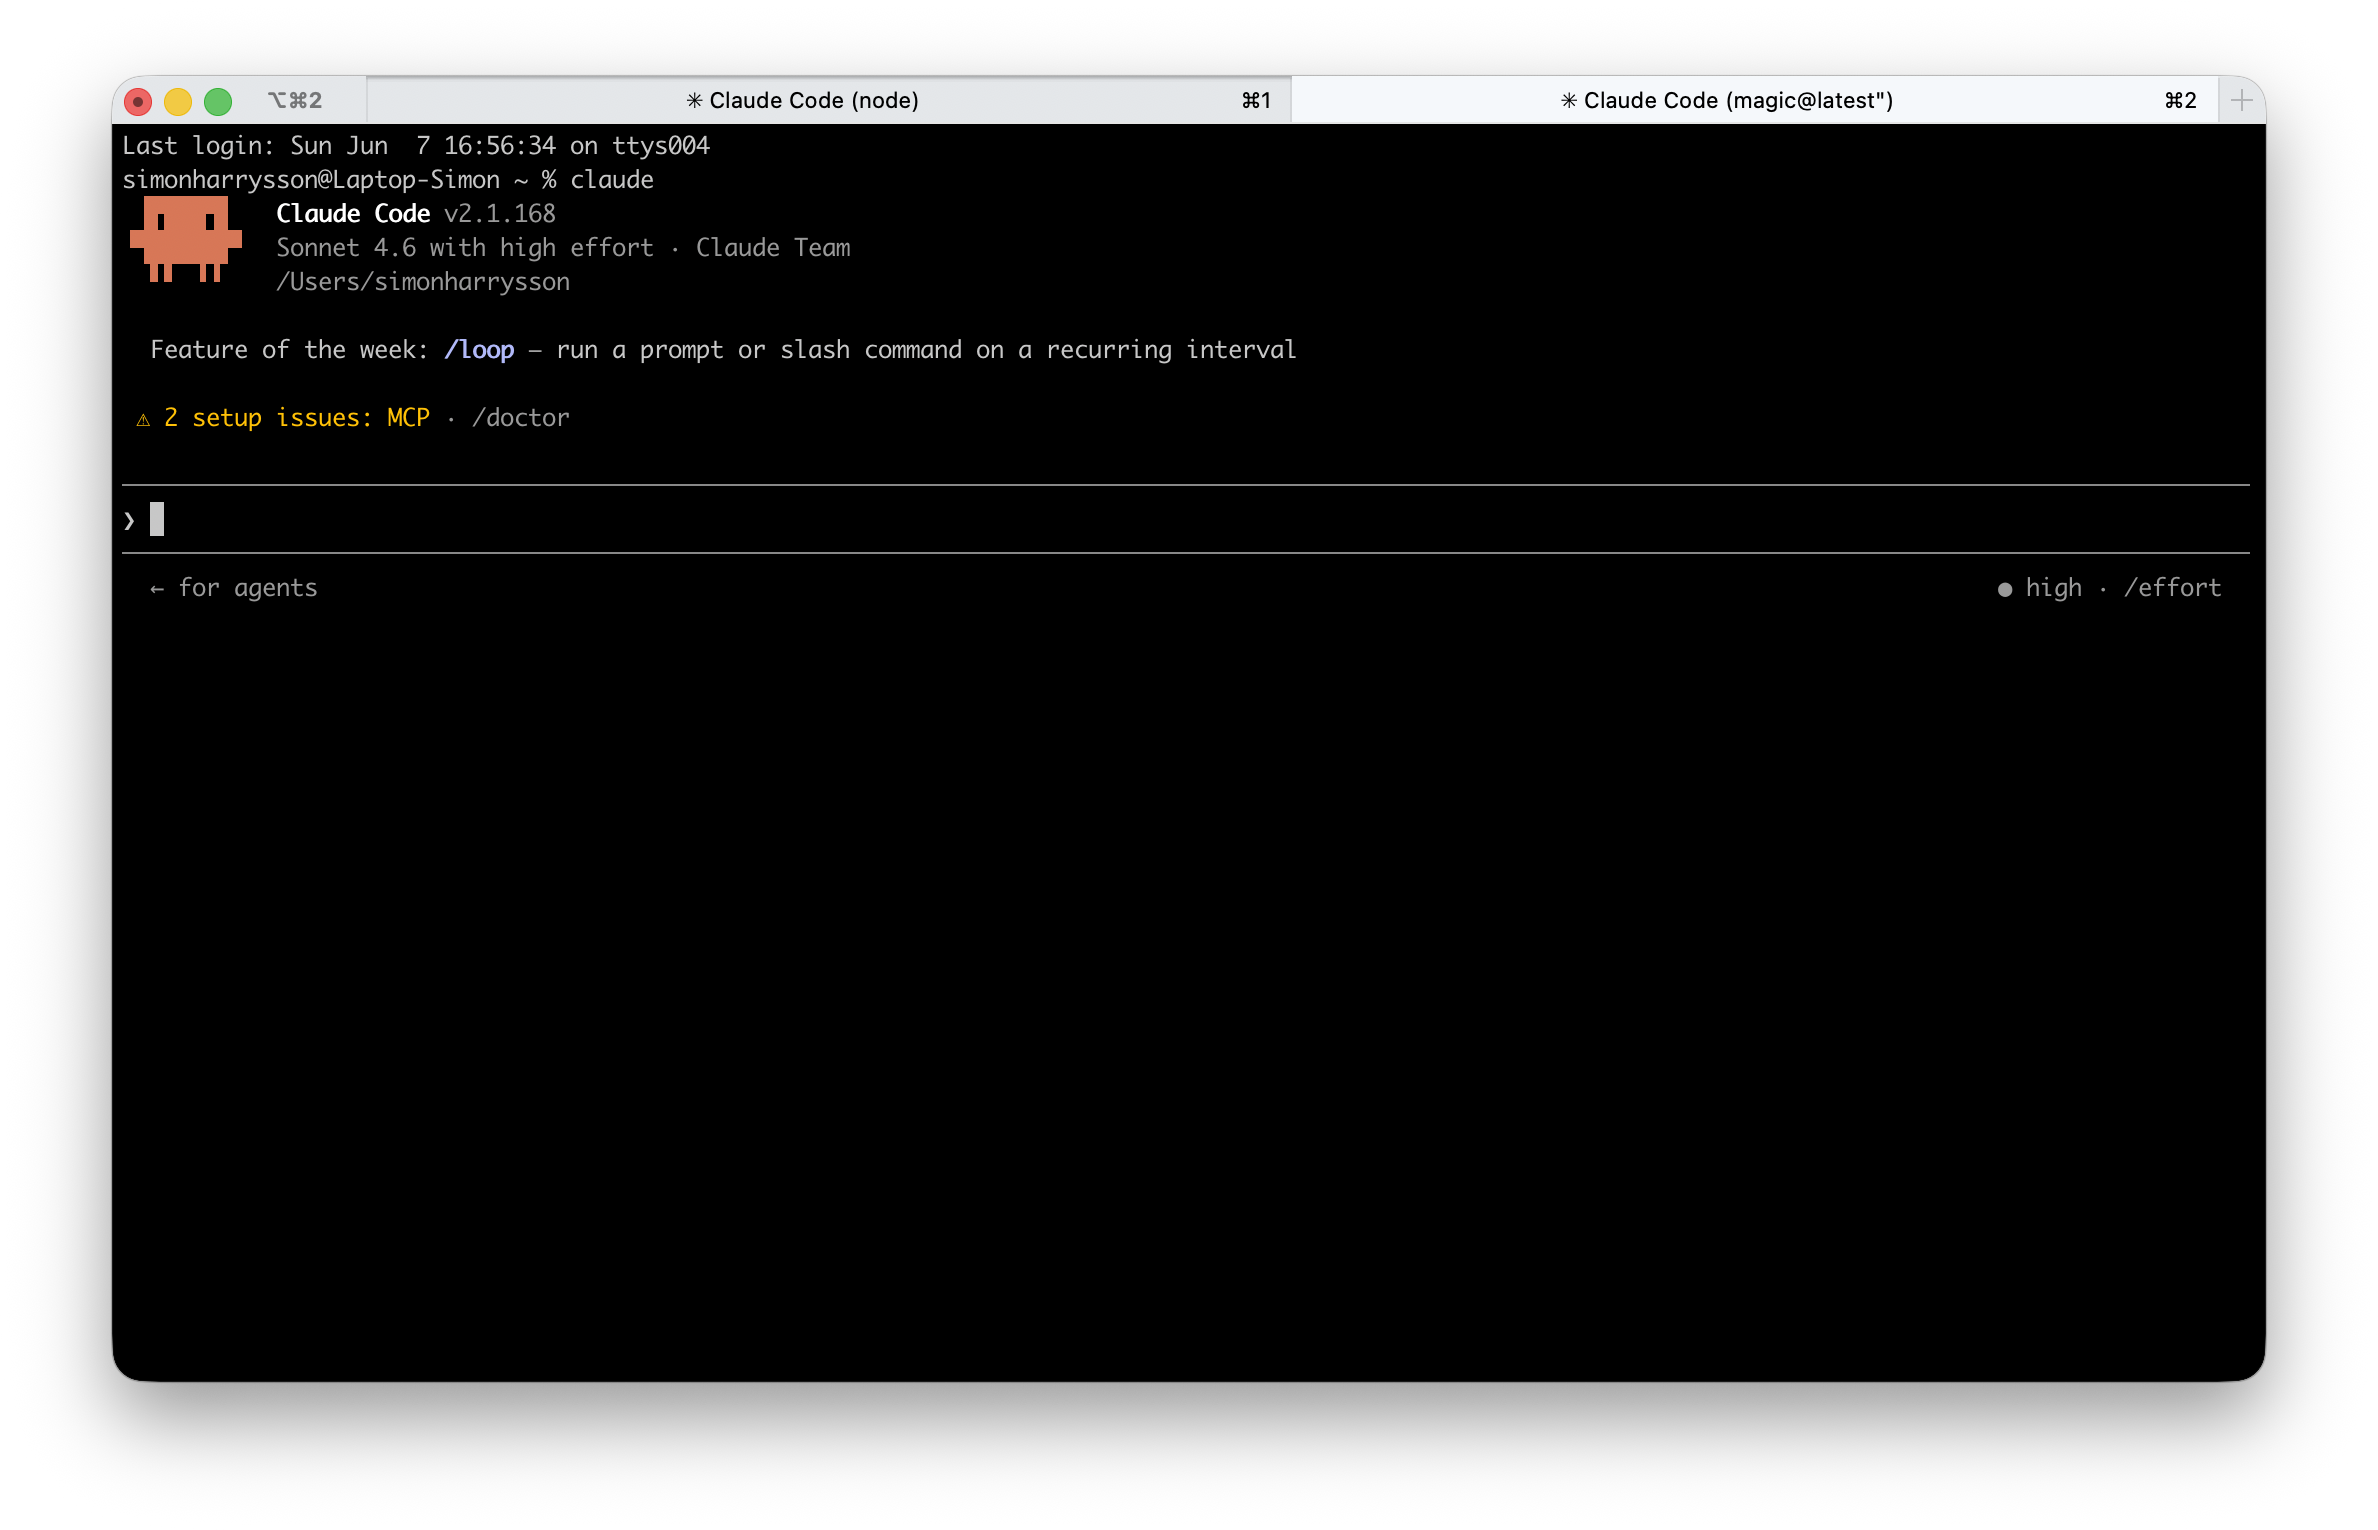
You only need to log in once. After that, claude in any folder just works.
That's it. You're set up.